 admin
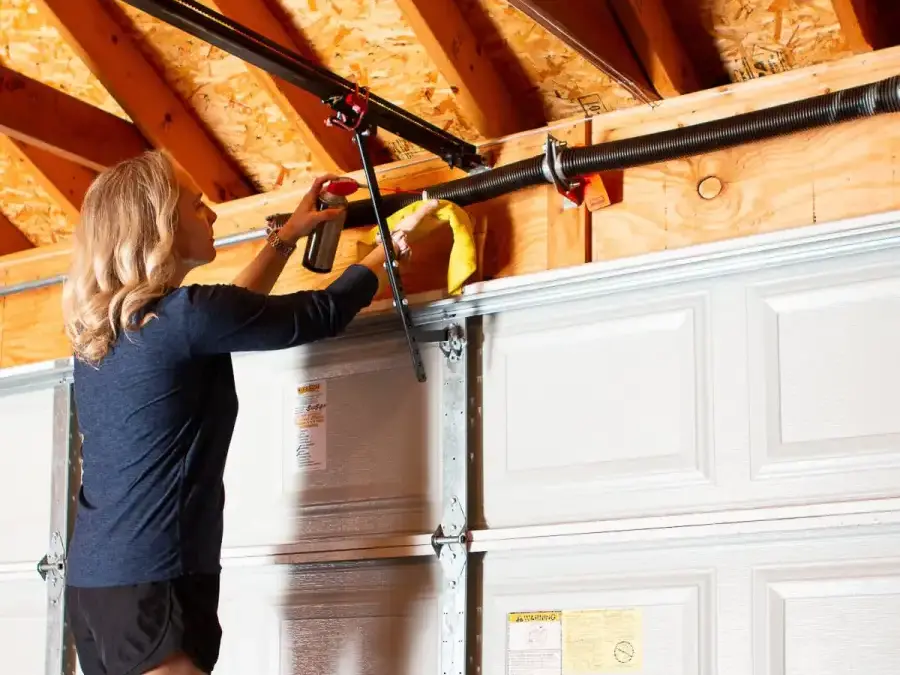
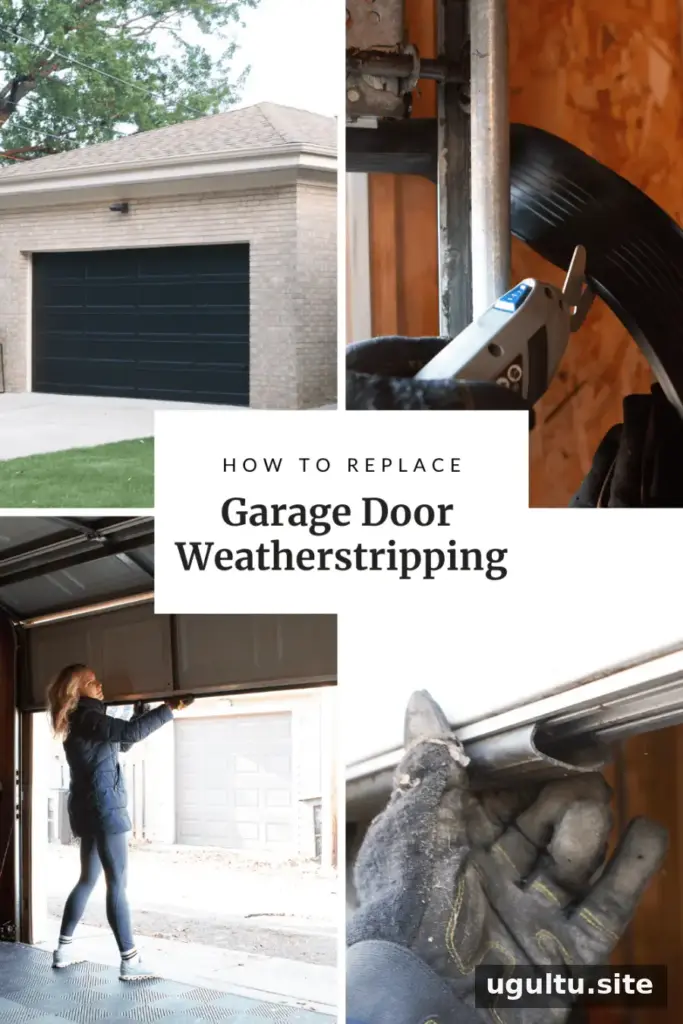
Replacing worn garage door weatherstripping helps close the gap between the bottom of the door and the floor, reducing drafts and limiting windblown dust, moisture, and small pests. When the existing seal becomes brittle, splits, or leaves visible gaps, a properly matched replacement can restore contact along the bottom edge. This guide covers sliding bottom seals, from choosing the correct profile to checking the finished installation.
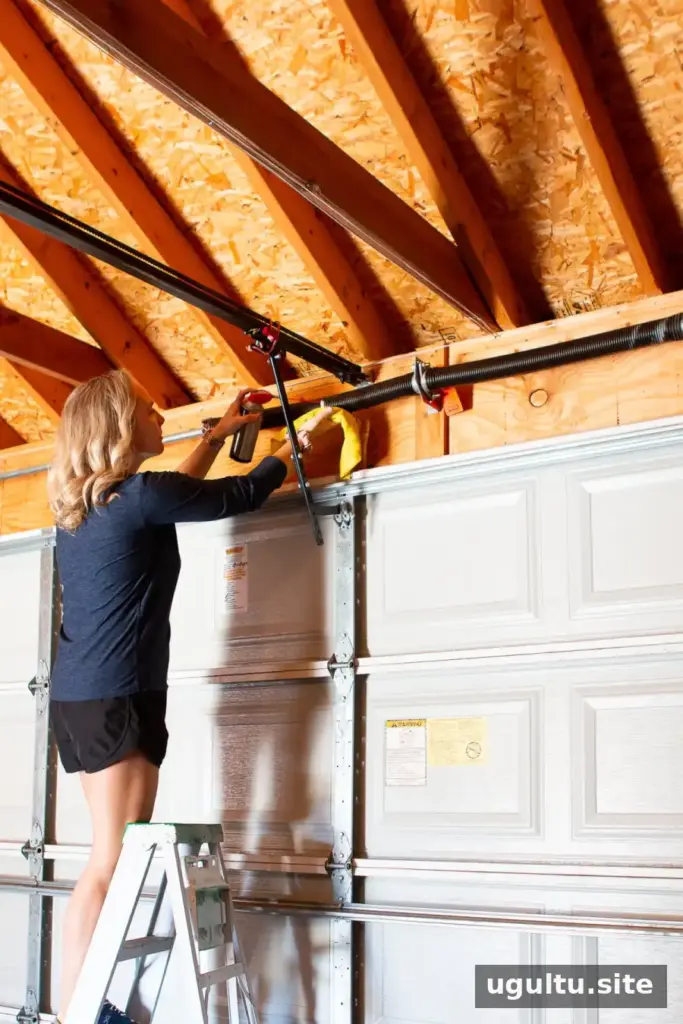
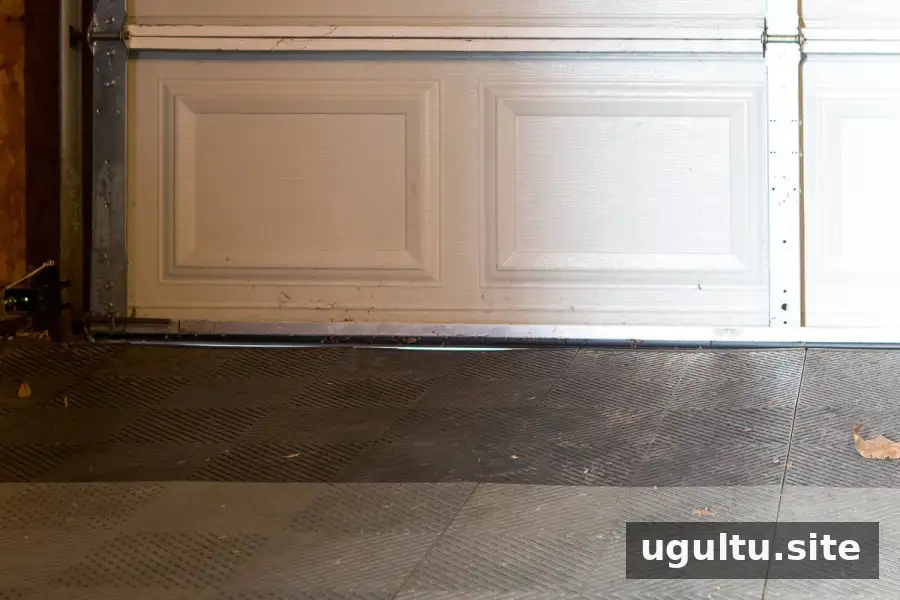
Start with a visual inspection while the door is closed. Look along the floor for daylight, damaged rubber, and sections that no longer sit evenly. Keep your fingers away from the door’s bottom edge while it is moving.
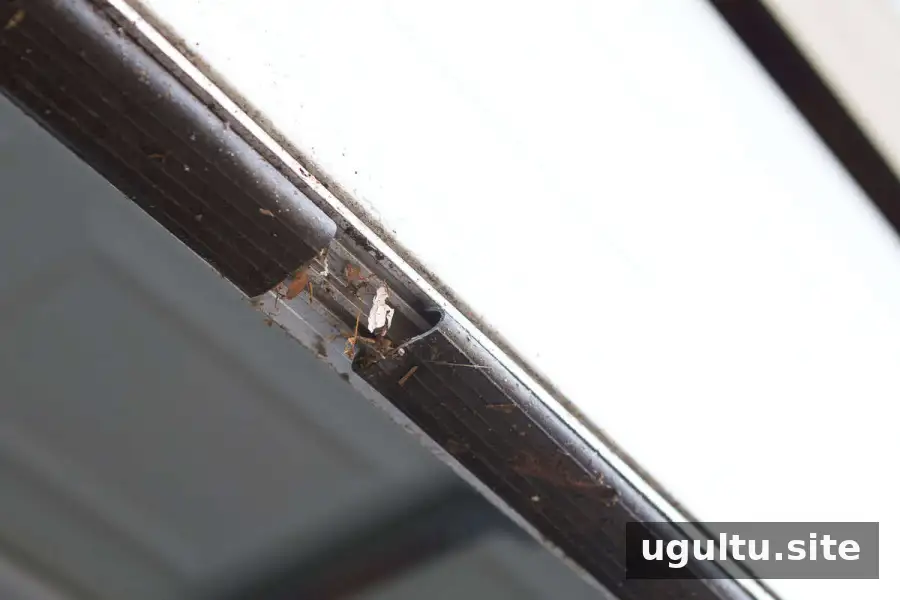
When to Replace Garage Door Weatherstripping
Visible light beneath a closed door can indicate an ineffective bottom seal. Other warning signs include cracks, hardened material, distorted sections, or edges that have slipped out of the retaining channel.
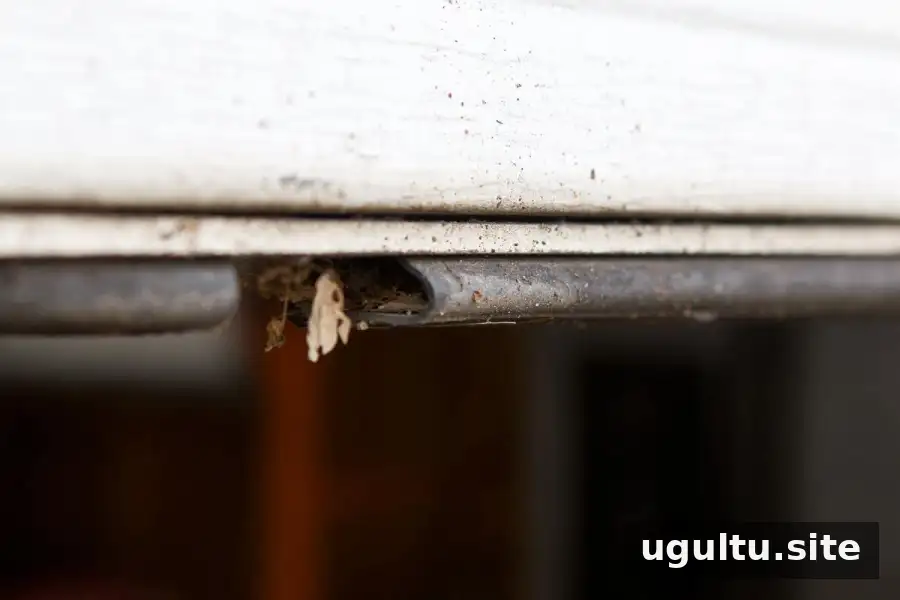
Check how the seal attaches before buying a replacement. Many versions slide into a metal channel, but attachment profiles and dimensions differ. Compare the existing seal’s profile and the channel dimensions with the replacement specifications; matching the door width alone is not enough.
What a Bottom Seal Can and Cannot Do
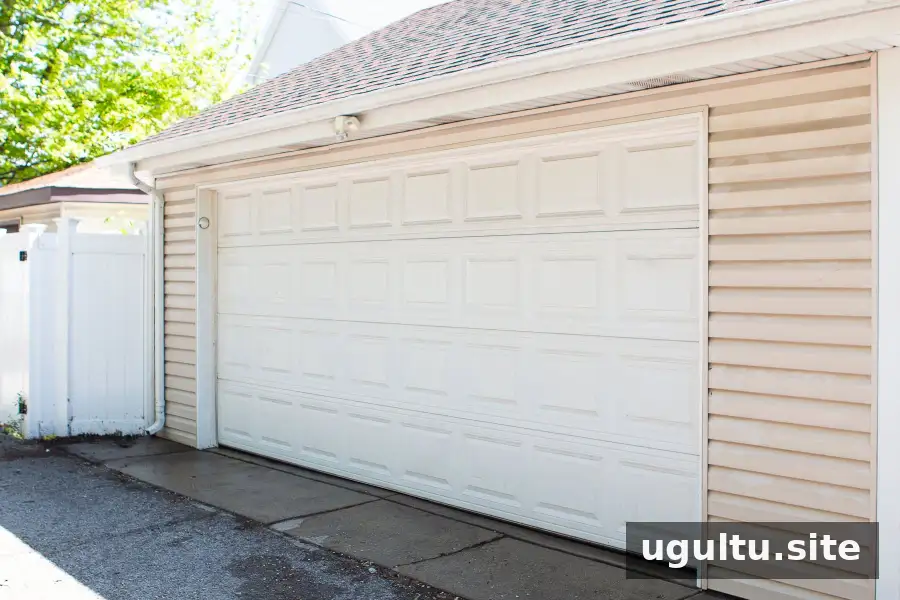
A correctly fitted bottom seal reduces airflow beneath the door and helps keep out loose debris and windblown moisture. For an attached garage, reducing drafts may also help limit temperature fluctuations near adjoining living spaces.
However, weatherstripping is not a remedy for drainage problems, an uneven floor, or a door that closes incorrectly. If water continues to enter or gaps remain elsewhere, inspect the surrounding area rather than assuming a thicker bottom seal will solve the problem.
Tools, Materials, and Preparation
Difficulty: 3 out of 5
Estimated time: 1 hour
- Replacement weatherstripping that matches the retaining channel
- Work gloves
- Garage door lubricant compatible with the seal material
- Cleaning rags
- Electric scissors or a utility knife
- Tape measure
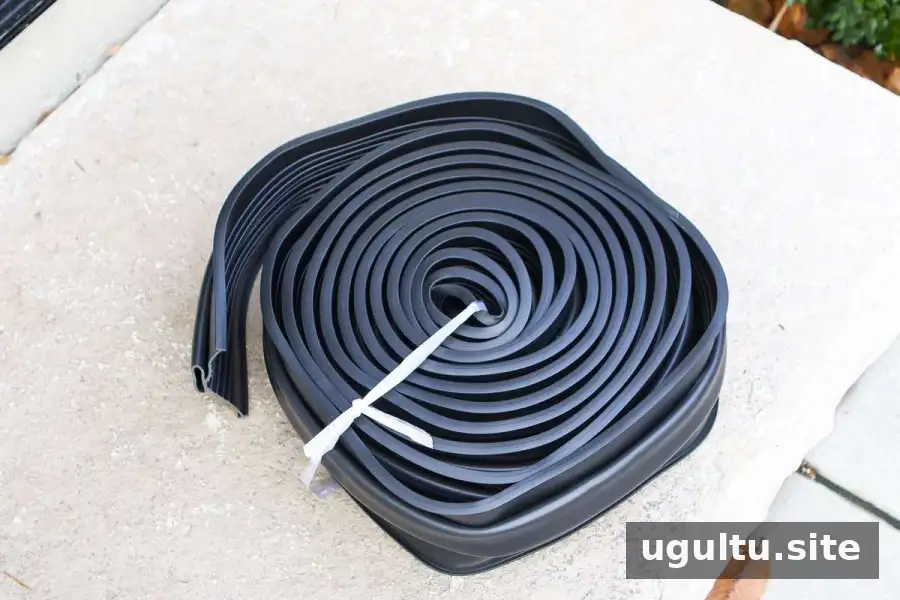
Measure the door’s width and confirm the required seal profile before shopping. A replacement slightly longer than the measured width provides room for final trimming. Read the seal manufacturer’s instructions before cutting, since end allowances can vary by design.
How to Install Garage Door Weatherstripping
1. Secure the Door and Remove the Old Seal
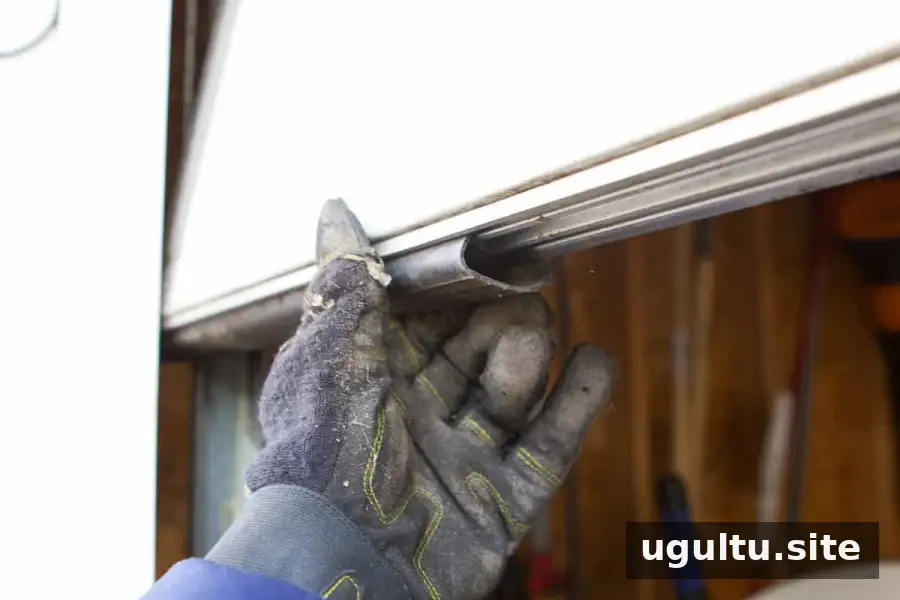
Wear work gloves and raise the door until its bottom edge is accessible. Prevent accidental opener activation and secure the door against unexpected movement according to the door manufacturer’s instructions. If you cannot do this safely, have a qualified garage door technician complete the work.
Do not loosen or adjust springs, cables, or bottom brackets. These components can be under dangerous tension and are not part of a routine seal replacement.
For a slide-in seal, gently draw the old material out through the end of the channel. Work gradually if it sticks. Avoid forceful pulling that could bend the retaining track, and check for any end fasteners before continuing.
2. Clean and Inspect the Channel
Wipe dirt and loose debris from the channel and the door’s lower edge with a rag. Inspect the track for bends or damage that could prevent the replacement from sliding smoothly. Address track problems before feeding in the new material rather than trying to force it past an obstruction.
3. Feed the Replacement into the Track
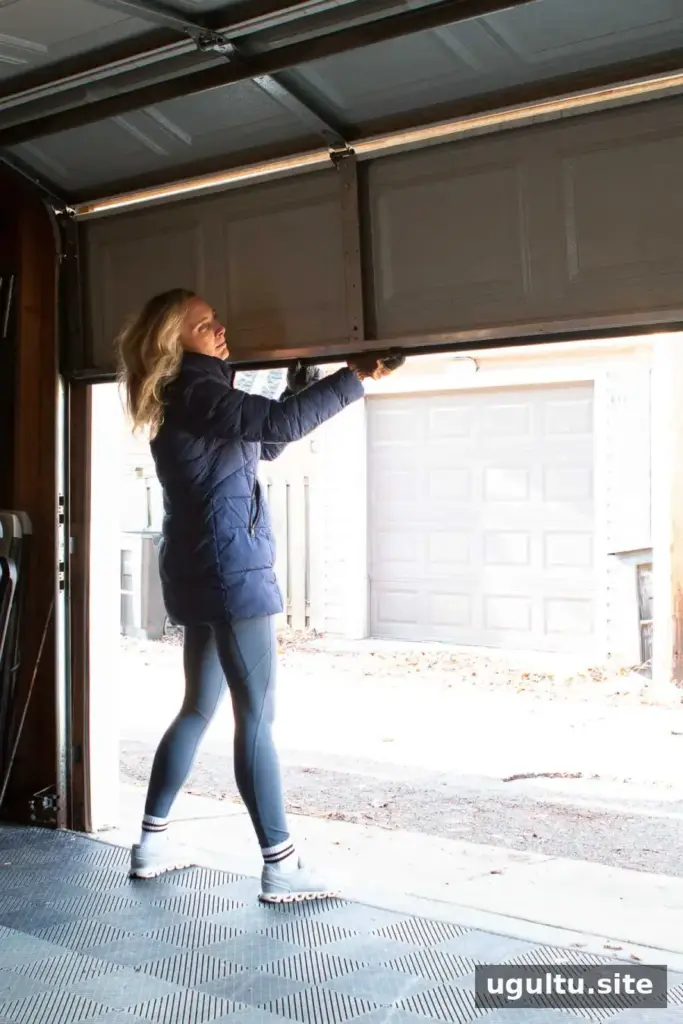
Align the replacement seal’s attachment edges with the channel openings. Begin feeding it through slowly, keeping the profile seated correctly as you work across the door.
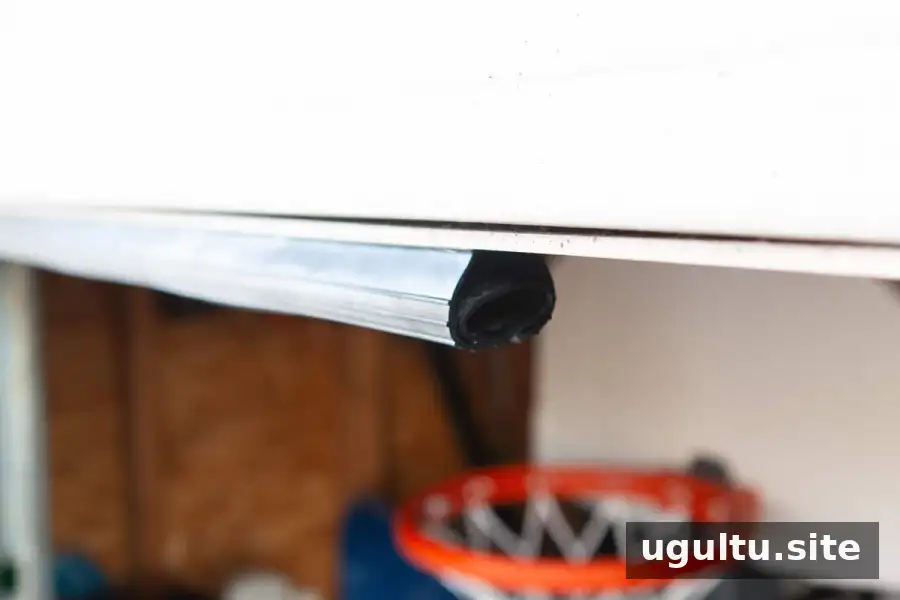
Advance in short sections to prevent twisting or bunching. If friction makes installation difficult, use only a lubricant approved for the seal material and follow its application directions. Stop and check alignment if the strip repeatedly catches in the same place.
4. Trim the Ends Carefully
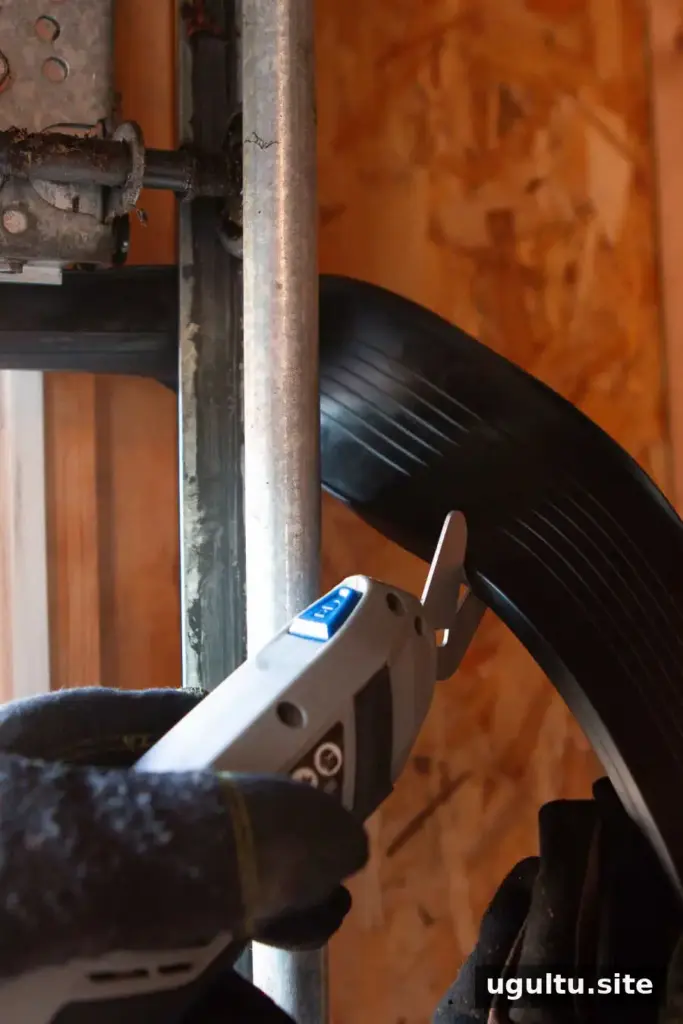
Allow the material to settle without stretching it before marking the cut points. An allowance of about 1/2 inch on each side may suit some installations, but it is not a universal requirement. Follow the replacement seal’s instructions for the correct finished length.
Trim with electric scissors or a sharp utility knife, keeping your hands clear of the cutting path. Avoid cutting against the door’s finish or other surfaces that could be damaged.
5. Test the Fit and Door Movement
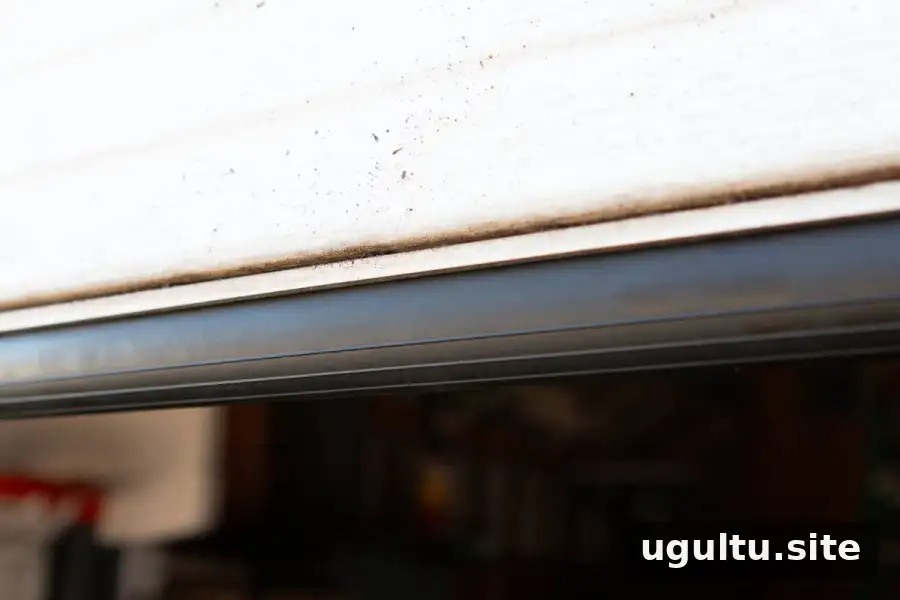
Clear away tools and offcuts, then safely restore the door to normal operation. Close it and inspect the bottom edge for consistent floor contact and visible light gaps.
Run the door through an opening and closing cycle, watching for catching, bunching, or interference. If the door struggles to close, do not increase the opener’s closing force to compensate; check seal compatibility and seek professional assistance if needed.
Inspection and Replacement Schedule
A replacement interval of 2 to 3 years is common, although actual service life varies with exposure and use. Strong sunlight, snow, heavy rain, and frequent operation can accelerate deterioration.
Inspect the bottom seal at least once a year and after noticing new drafts or water entry. Replace it based on cracking, brittleness, distortion, or loss of contact rather than relying only on its age.
Final Checks for a Reliable Seal
Successful garage door weatherstripping replacement depends on a compatible seal, a clean retaining channel, and safe handling of the door. Measure carefully, avoid stretching the material, and test the finished fit. If the door is unstable, the channel is damaged, or gaps persist despite correct installation, contact a qualified garage door professional.