 admin
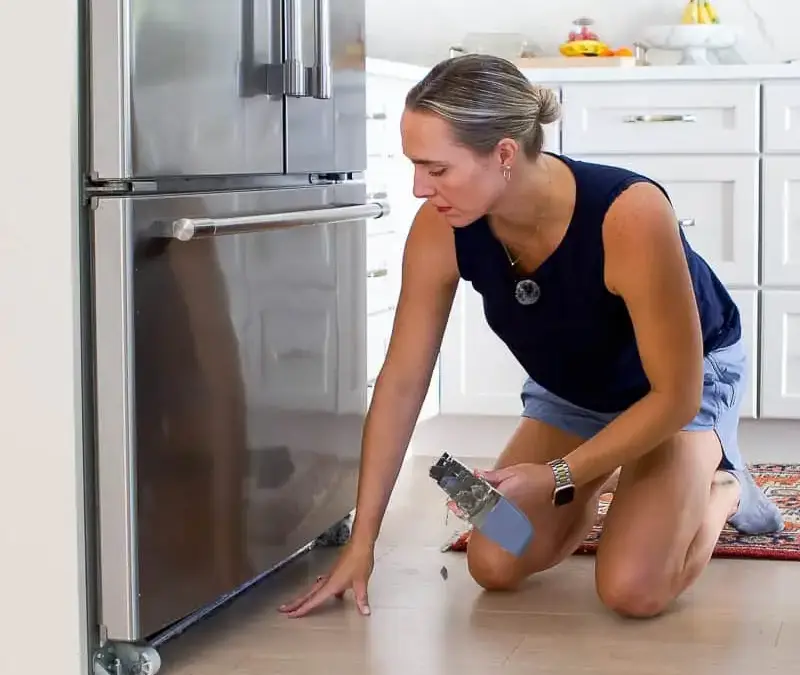
Learning how to clean refrigerator coils makes it easier to remove dust from a part of your appliance that helps release heat. This straightforward maintenance task generally takes about 10 minutes and uses a coil-cleaning brush, a handheld vacuum, and a microfiber cloth. Before starting, check the owner’s manual: coil placement, access methods, and cleaning recommendations differ between models.

What Refrigerator Coils Do and Where to Find Them
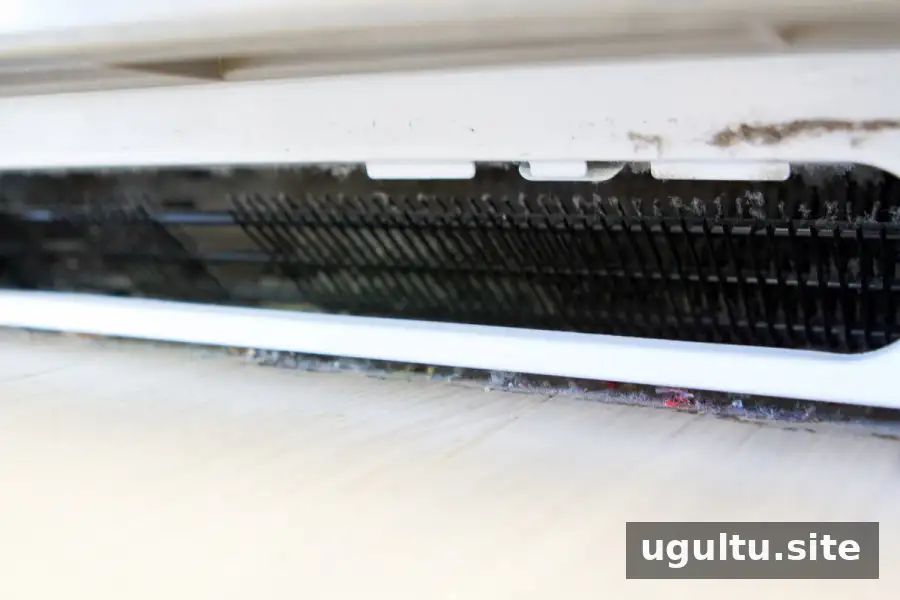
Condenser coils transfer heat away from the refrigerator’s cooling system. Depending on the design, you may find them along the back of the appliance or near the bottom at the front. A kickplate or removable panel may conceal front-access coils.

Check before moving anything: Locate the coil-access instructions in your manual first. If the manufacturer does not provide a user-accessible cleaning procedure, avoid dismantling the appliance to reach the coils.
Why Removing Coil Dust Matters
Accumulated dust and debris can limit airflow around the condenser coils, making heat release more difficult. Removing that buildup helps maintain the conditions the refrigerator needs to operate properly.
However, dirty coils are not the only possible reason for poor cooling. If temperatures remain incorrect after maintenance, follow the troubleshooting guidance in the manual or arrange an inspection by a qualified appliance technician.
How to Clean Refrigerator Coils Safely
Difficulty: Easy
Estimated time: About 10 minutes
Gather everything before disconnecting the appliance so you can work efficiently:
- A coil-cleaning brush for gently dislodging dust
- A handheld vacuum, preferably with a narrow attachment
- A microfiber cloth for wiping the removable panel
- A flathead screwdriver, if required for panel removal
1. Disconnect the Power
Unplug the refrigerator before approaching the coils with cleaning tools. When the plug is inaccessible, use the manufacturer’s instructions to safely isolate the power instead. Keep the refrigerator doors closed during the task to limit cold-air loss.
2. Locate the Coil Area
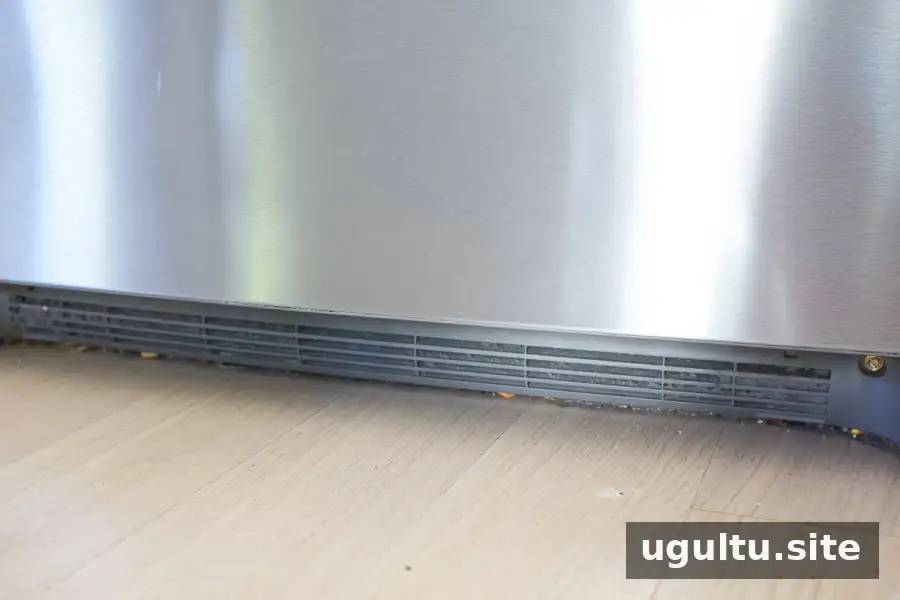
Use the manual to identify whether access is at the rear or lower front. Some older refrigerators have rear coils that may sit behind a cover, while other models provide access through a front kickplate.
If moving the appliance is necessary, proceed slowly and watch the power cord and any connected water line. Stop if either becomes taut; do not pull the refrigerator farther against that resistance.
3. Detach the Cover or Kickplate
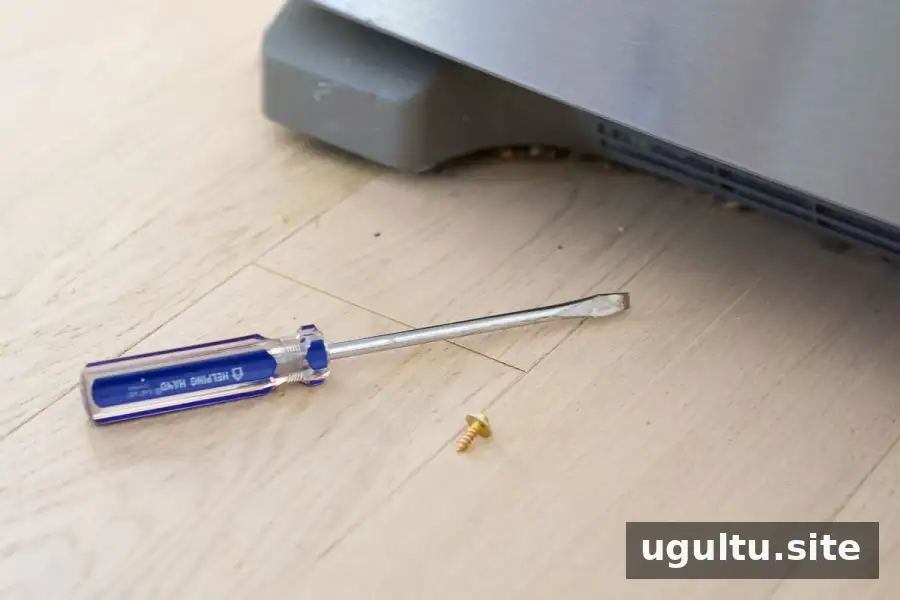
Follow the model-specific directions for releasing the panel. Use a flathead screwdriver only where appropriate, rather than prying at an unfamiliar fitting. Place removed screws and other small pieces in a container to keep them from getting lost.
4. Brush Away the Buildup
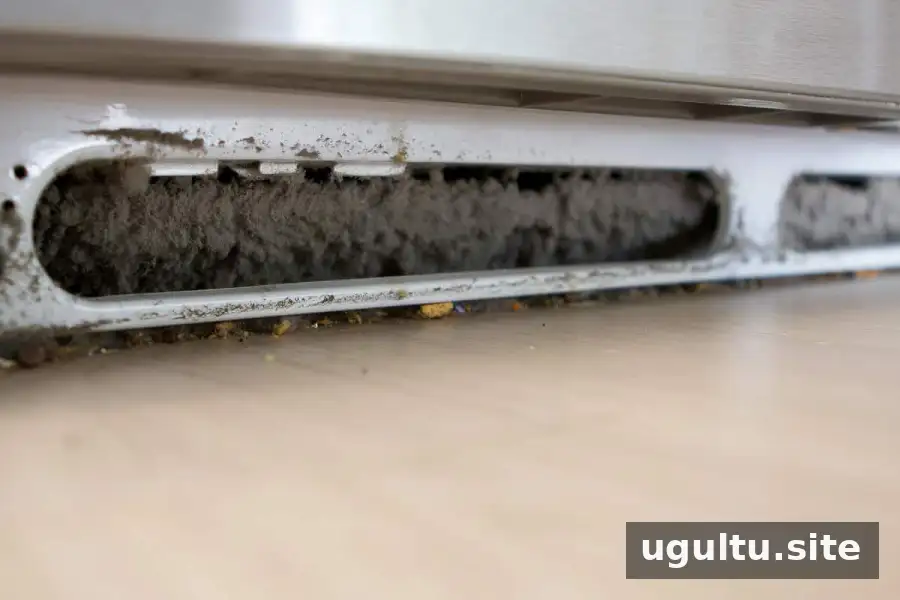
Guide the coil brush gently through accessible areas to loosen dust. Use light, controlled movements and avoid pushing into spaces where the brush does not fit easily. Excessive pressure can damage the coils or surrounding components.
A dust mask may be helpful when buildup is heavy. Work slowly to avoid scattering more dust than necessary.
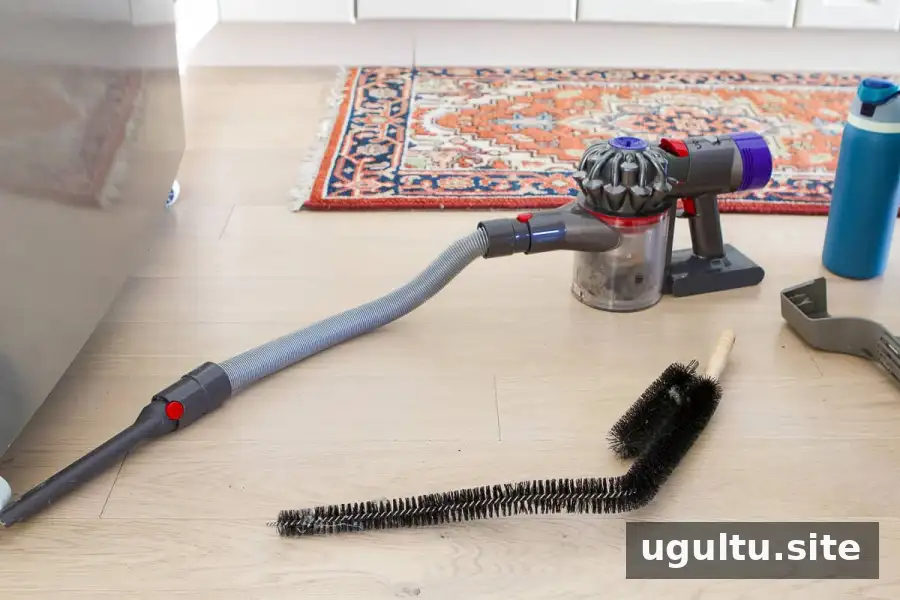
5. Collect Dust With the Vacuum
Vacuum the debris as you loosen it. A narrow nozzle can improve access around the coil area, but keep it from pressing against delicate parts. Remove only dust you can reach safely without forcing tools into the appliance.
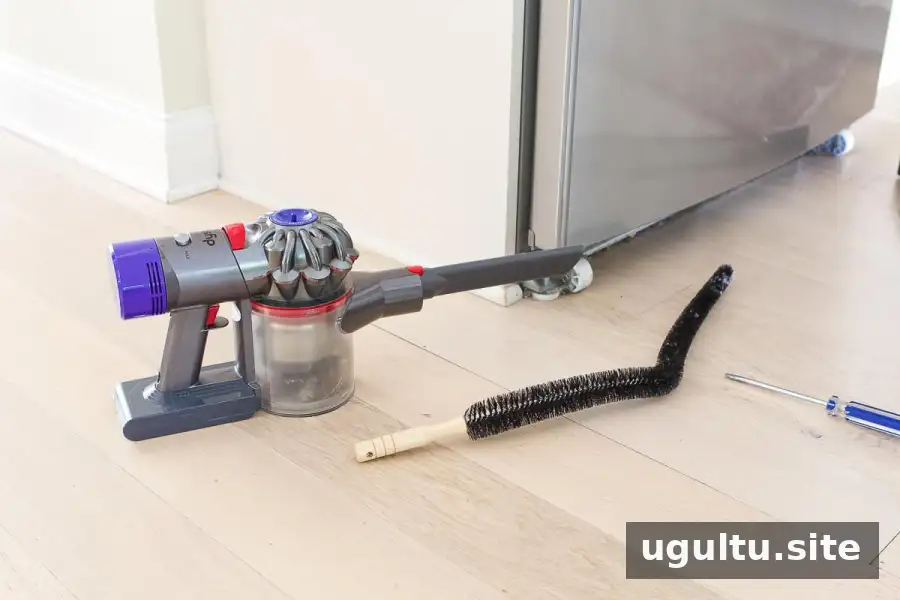
6. Wipe the Removed Panel
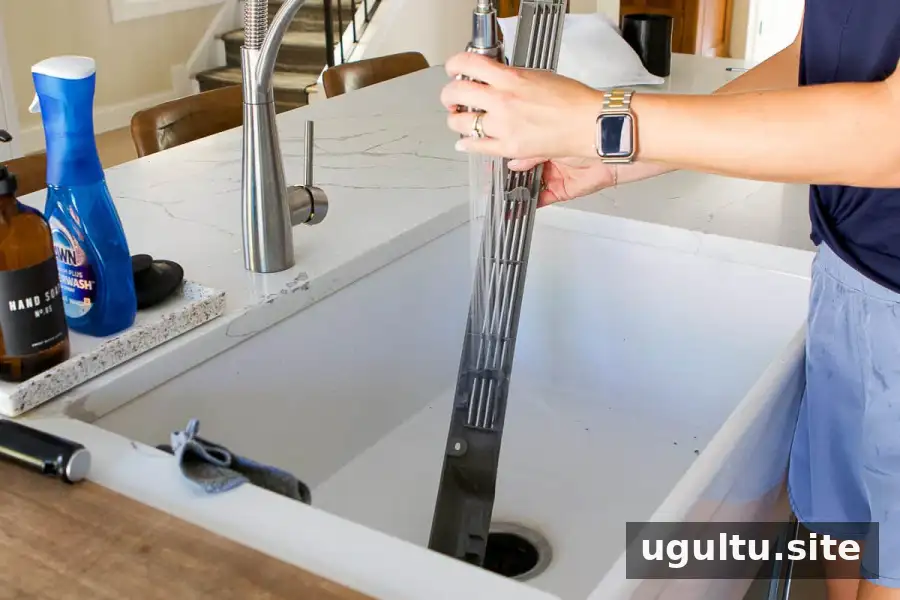
Use the microfiber cloth to remove dust from the cover. If the manual permits washing it, clean the detached panel with mild soap and water, then dry it thoroughly. Keep water and cleaning sprays away from the coils and electrical components.
7. Reassemble and Reconnect
Check the work area for remaining tools, loose screws, and debris before securing the panel in its original position. If you moved the refrigerator, carefully return it without pinching the cord or water line, then restore power. Maintain any ventilation clearances specified in the manual.
How Often Do Refrigerator Coils Need Cleaning?
About every six months is a practical starting point for this task, but your refrigerator’s maintenance instructions take priority. Check the accessible coil area between scheduled cleanings, especially if nearby surfaces collect dust or pet hair quickly.
Add a reminder to your household maintenance calendar and note any model-specific instructions so they are easy to find next time.

A Simple Routine for Refrigerator Care
Knowing how to clean refrigerator coils comes down to a few careful habits: follow the manual, disconnect power, loosen dust gently, and vacuum without pressing on components. Regular checks can help prevent heavy buildup, while persistent cooling problems should be assessed rather than treated with repeated cleaning alone.