 admin
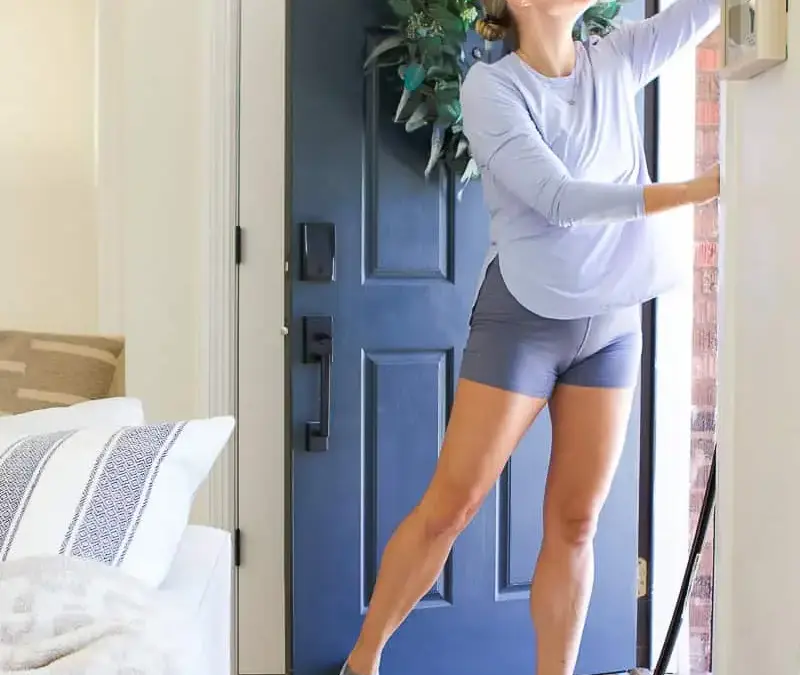
Exterior door weatherstripping helps close the gaps that allow cold air, dust, and small pests into your home. Seals along the frame and a properly adjusted sweep at the bottom can make an entryway more comfortable without interfering with everyday use. Start by locating the leaks, then choose replacement materials that match your door and the size of each gap.
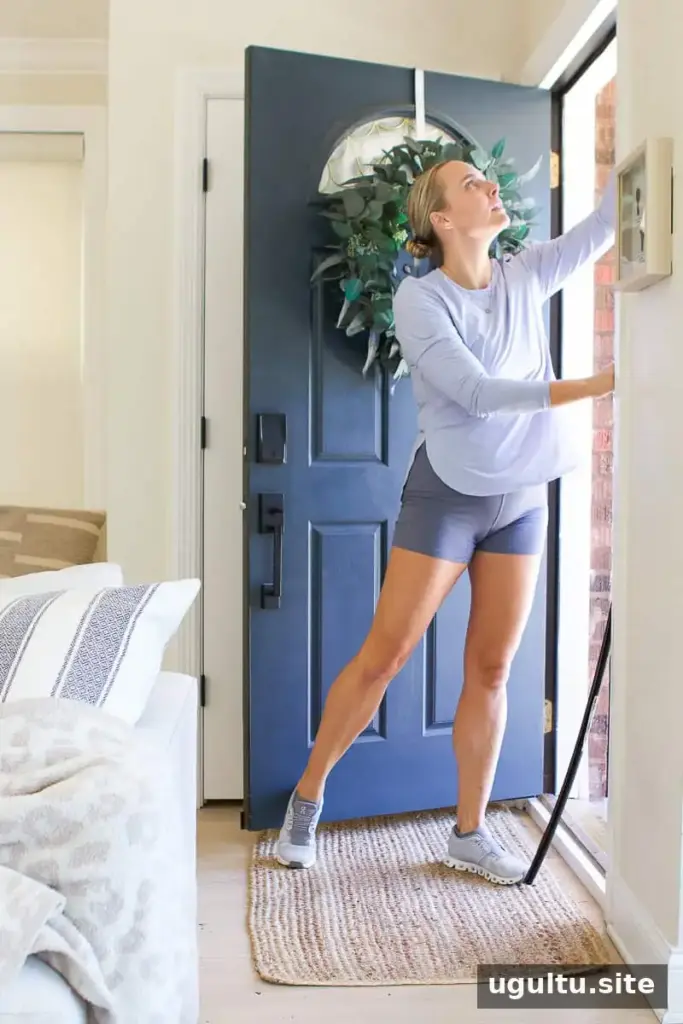
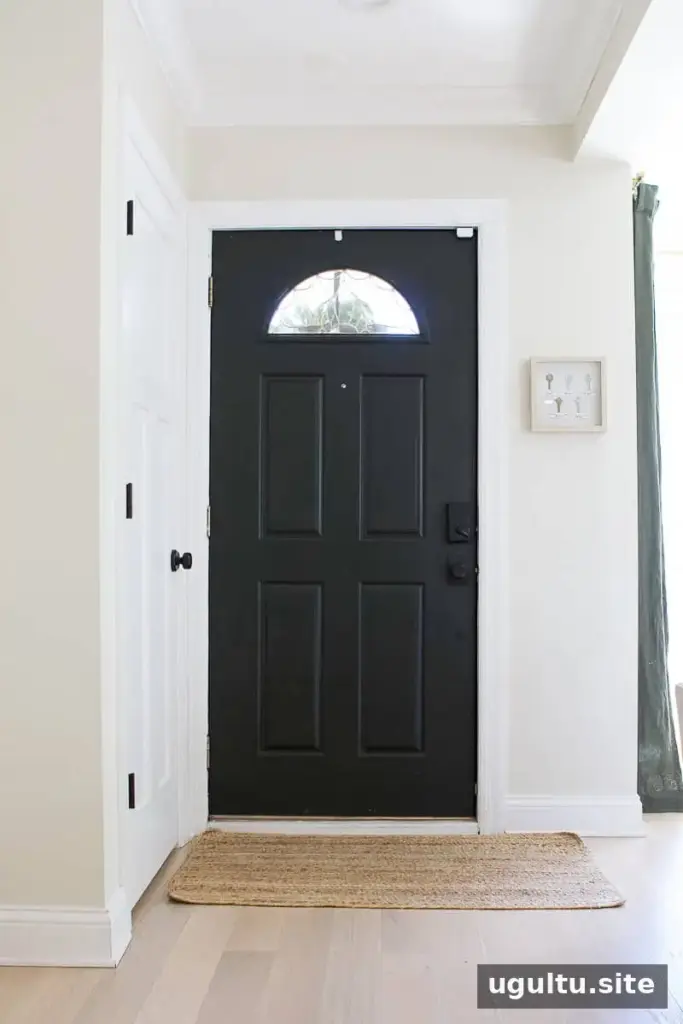
Check front entrances, side entrances, and other exterior doors before cold weather arrives. A straightforward replacement may take about 20 minutes, but stubborn fasteners or a sweep that needs cutting can extend the job. Throughout the installation, make sure the door still closes and latches easily.
Check Where Exterior Door Weatherstripping Is Needed
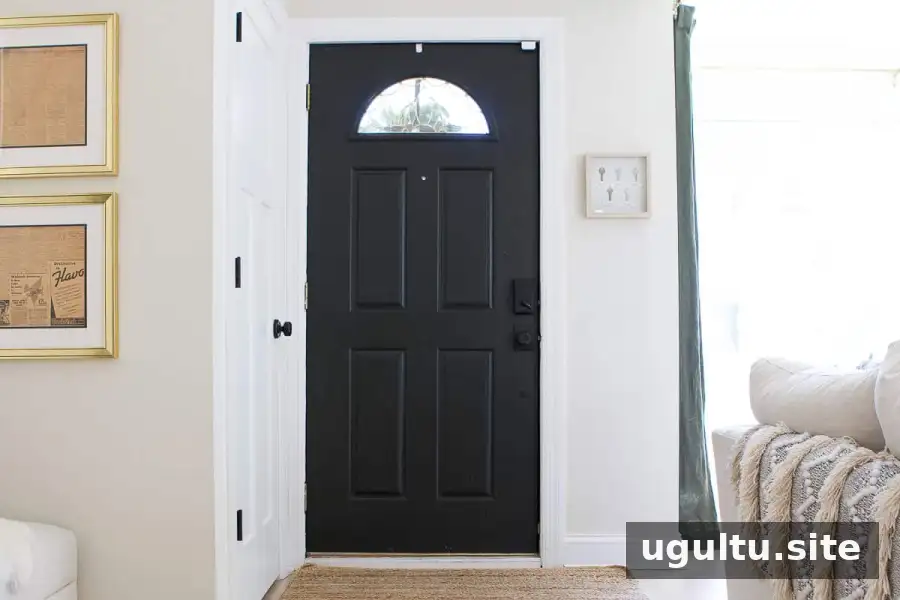
With the door shut, inspect its edges for daylight and examine existing seals for cracks, flattened sections, or loose adhesive. Hold a thin strip of tissue beside suspected gaps; movement can reveal air passing through. This method avoids the fire risk associated with checking drafts using a candle.
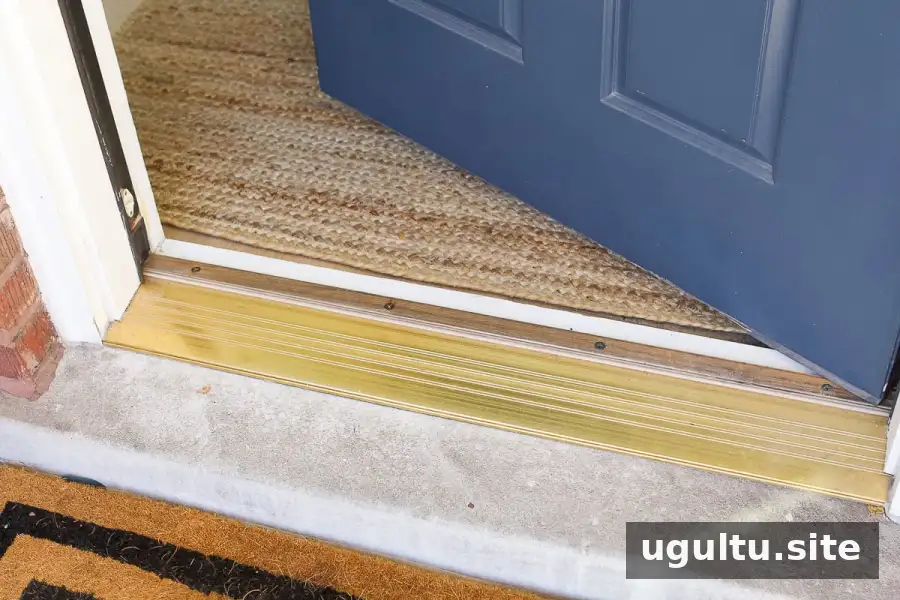
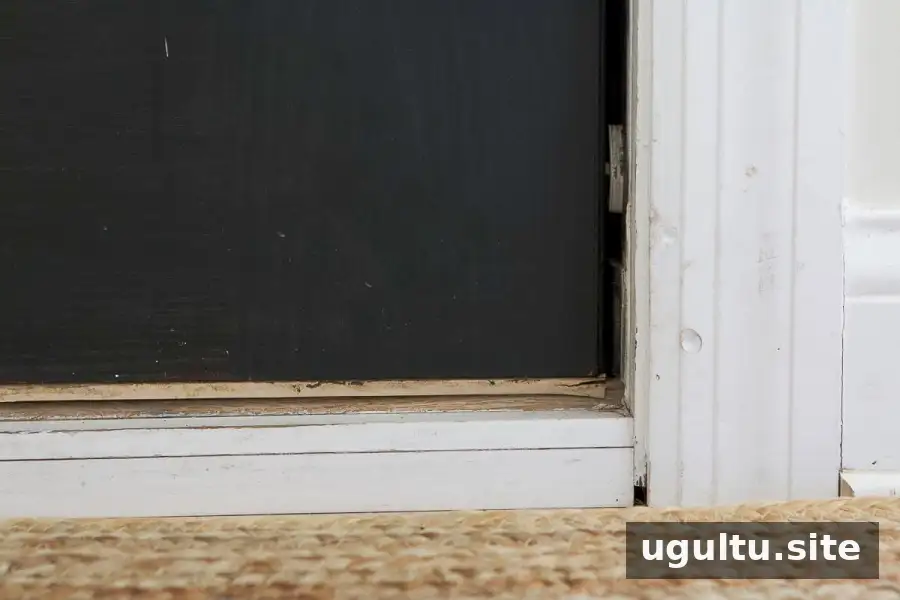
Work around the entire opening rather than stopping at the first leak. Inspect both vertical sides, the top edge, the threshold, and the lower corners. Mark problem areas or take measurements as you go so you can choose suitable replacements before removing anything.
Choose the Right Weatherstripping Material
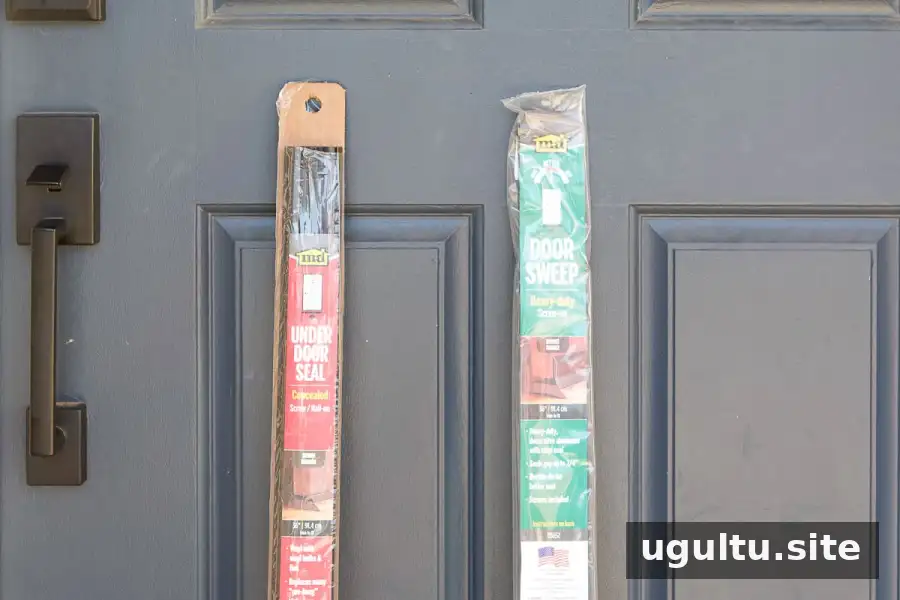
The best fit depends on the door construction, gap width, weather exposure, and frequency of use. Check the product instructions for installation requirements and compatibility with your frame.
- V strip or tension seal: Folded plastic or metal creates spring-like pressure against the door or frame. This style is commonly fitted along the top and sides.
- Felt: An inexpensive, easy-to-install material, although it can wear relatively quickly on doors used frequently.
- Foam tape: Adhesive-backed foam compresses into small gaps. Choose a thickness that seals the opening without making the door hard to latch.
- Door sweep: Mounted along the bottom edge, this component uses a rubber or vinyl strip to meet the threshold and reduce airflow.
- Tubular rubber or vinyl: A bulkier compression seal that may fit into a frame groove. It can accommodate larger gaps where the door assembly supports that design.
You may need more than one material: frame seals address the sides and top, while a sweep handles the bottom. For adhesive products, clean and dry the mounting surface before application.
Install the Sweep and Frame Seals
- Difficulty rating: 2 out of 5.
- Estimated working time: About 20 minutes, with additional time possible for removal and trimming.
- Materials: Vinyl door weatherstrip, a door sweep, and door corner seals.
- Tools and protection: Drill, hacksaw, measuring tape, scissors, pry bar, work gloves, and safety glasses.
Read the replacement components’ instructions before starting. Attachment methods vary, so confirm whether your door requires screws, adhesive, or a slot-in seal.
1. Take Off the Existing Sweep
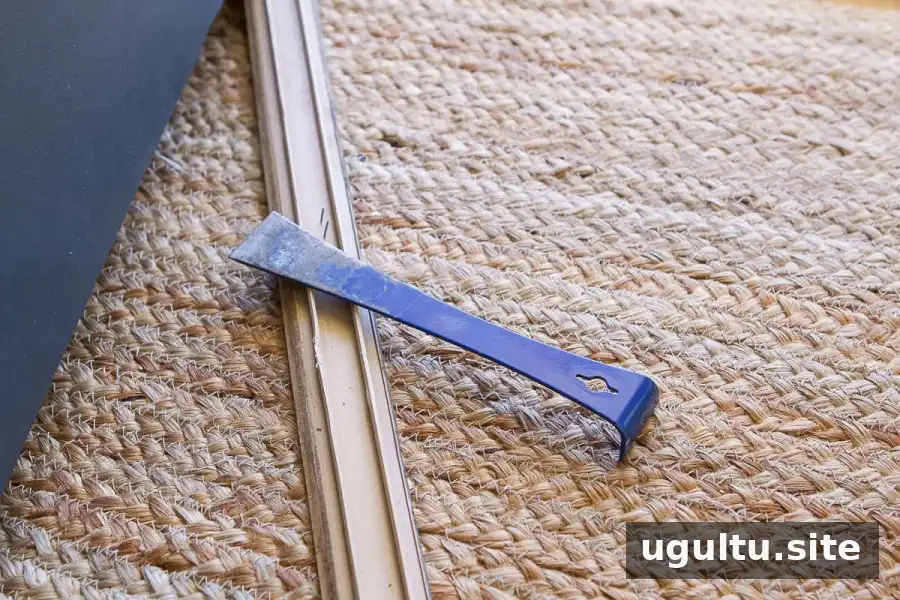
Identify the attachment method before pulling on the old sweep. Remove screws or other fasteners as appropriate; a small pry bar can help gently release a stapled component. Work in short sections to protect the door’s finish and lower edge.
2. Cut the Replacement to Length
Measure across the bottom of the door and transfer that measurement to the new sweep. An aluminum mounting rail can be shortened with a hacksaw when the product instructions permit it. Wear gloves and safety glasses while cutting, and check the measurement before making the cut.
3. Attach and Adjust the Sweep
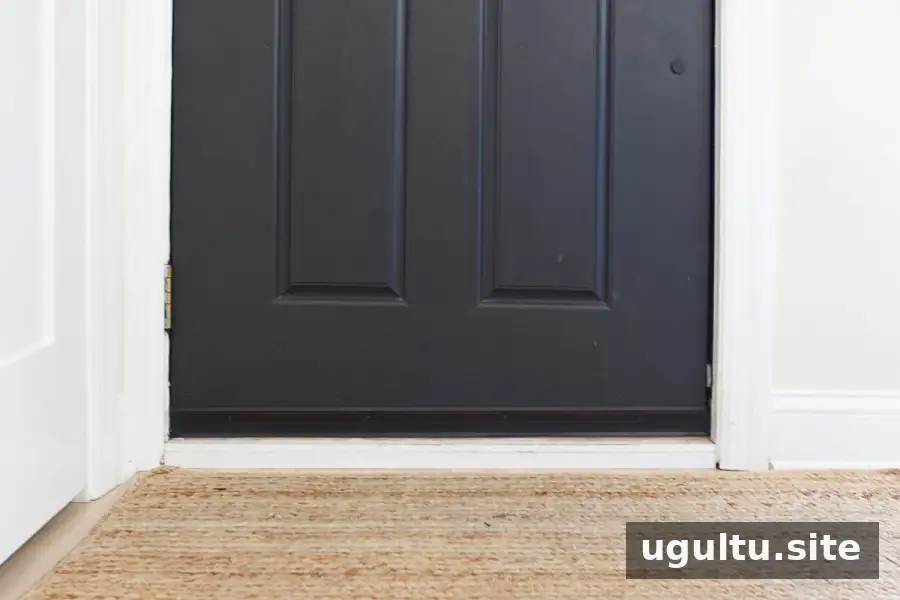
If suitable for the door and hardware, prepare 1/8-inch pilot holes at the fastener positions. Attach the sweep so its vinyl edge makes light contact with the threshold rather than pressing hard against it. Test several opening and closing cycles, adjusting the position if the strip drags or leaves an opening.
4. Renew the Seals Around the Jamb
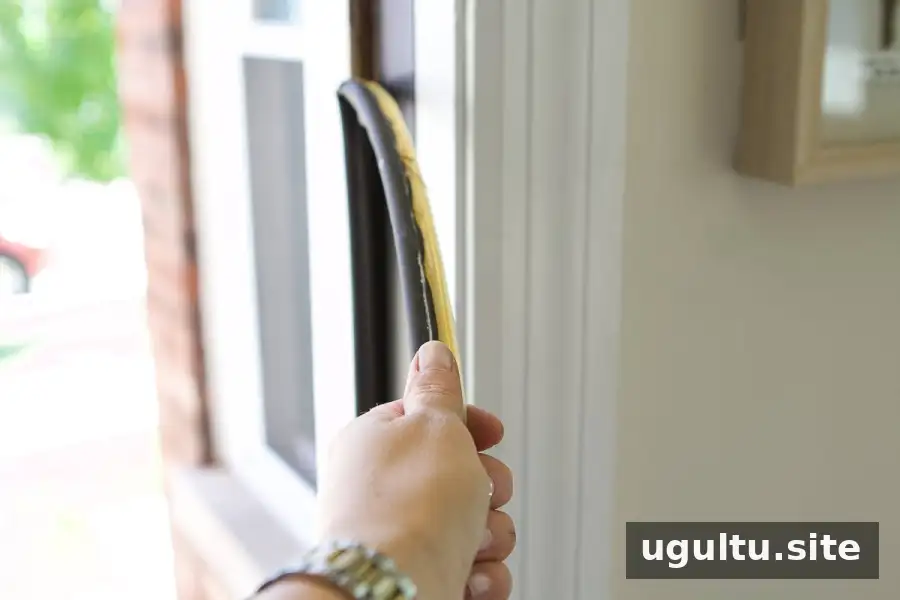
Detach the worn frame seal according to its fixing method. A groove-mounted strip may pull free, while an adhesive-backed or fastened version needs a different removal approach. Clear loose material from the mounting area to help the replacement sit flat.
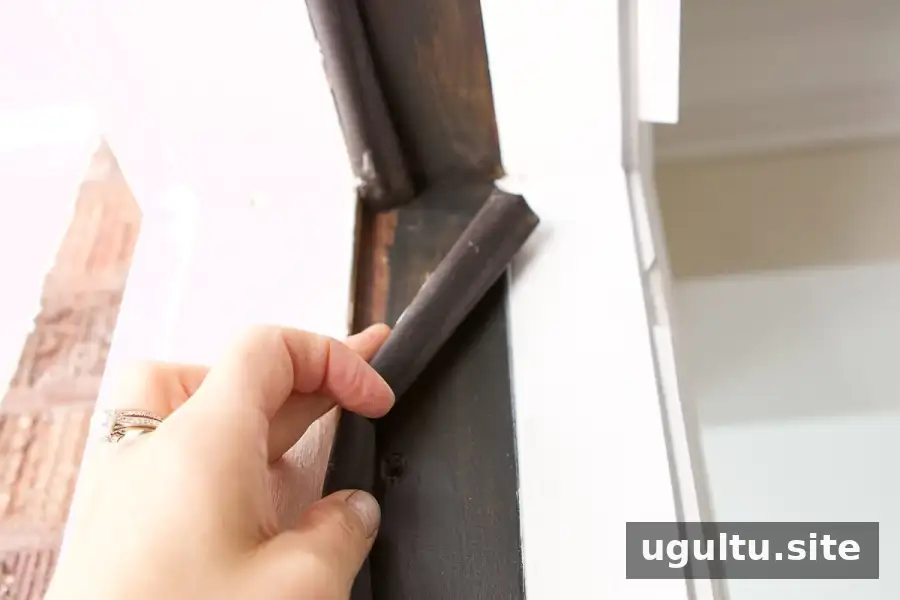
For a slot-in replacement, seat the strip securely in the jamb groove and cut away excess with scissors as directed by the manufacturer. Check that the material contacts the closed door along the perimeter. If latching requires excessive pressure, reassess the seal’s size and positioning.
5. Close Gaps at the Lower Corners
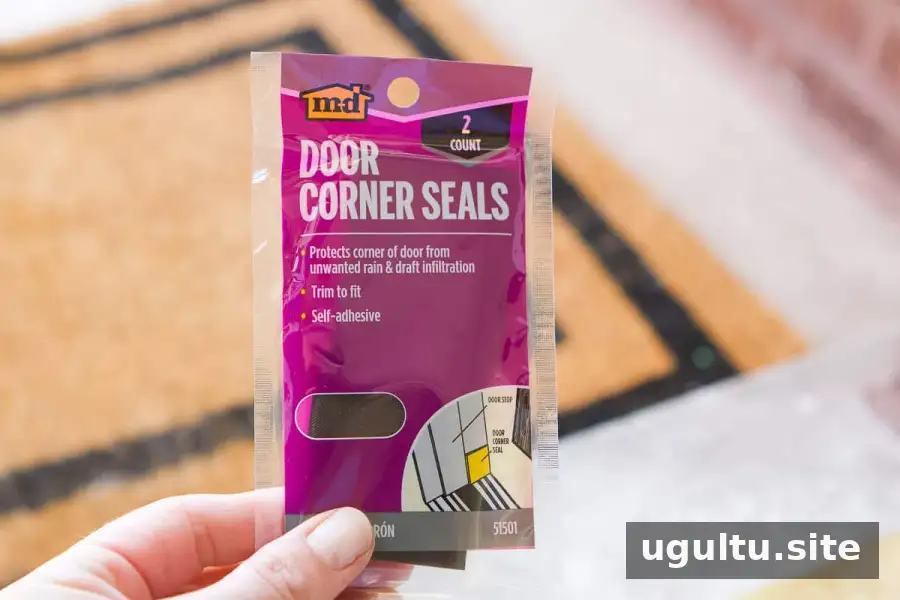
The junction between the vertical seals and threshold can remain drafty even after other components are replaced. Adhesive-backed corner seals can help cover these small openings.
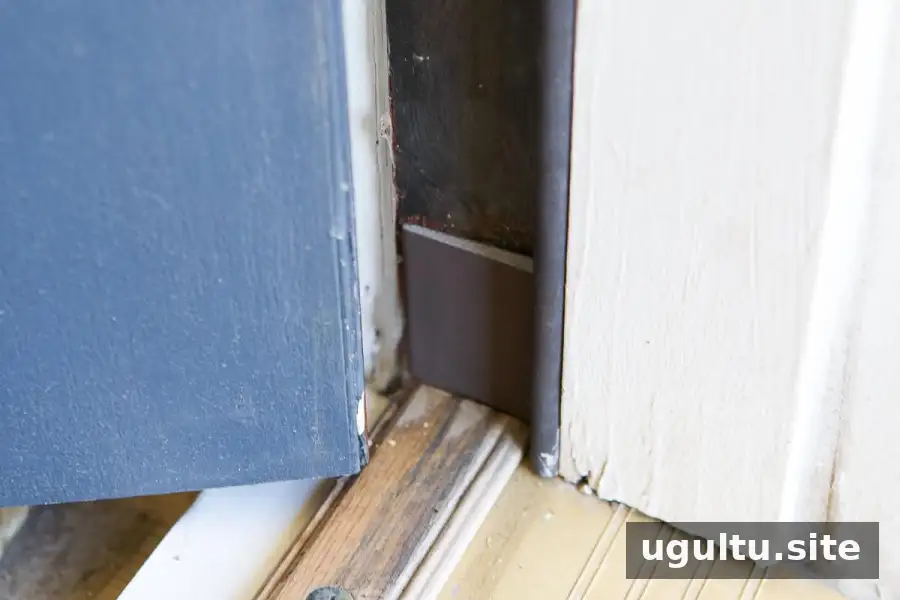
Prepare a clean, dry mounting area, position the corner pieces at the lower jamb-to-threshold junctions, and press firmly. Test the door again to ensure the added material does not obstruct its movement.
Inspect Seals and Replace Worn Materials
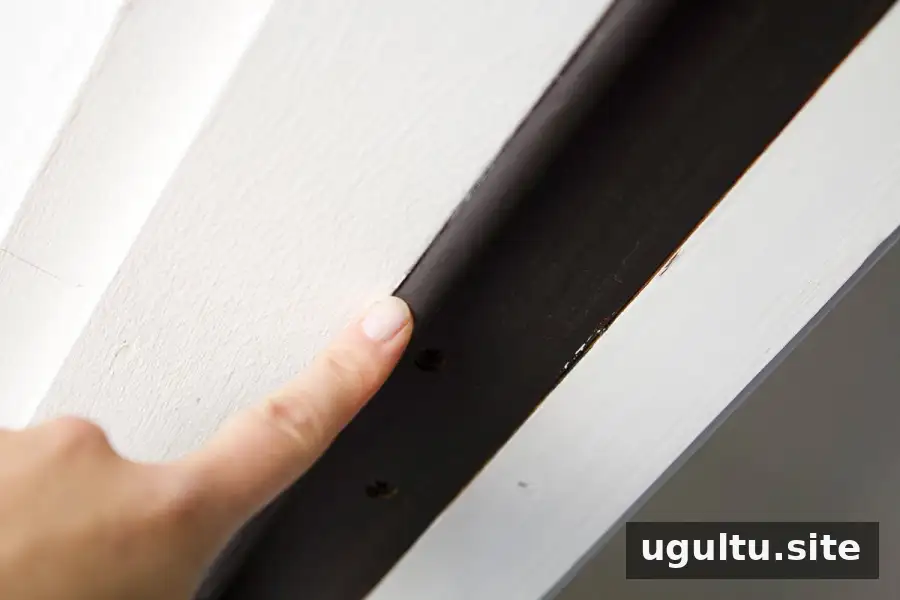
A typical replacement interval is every 2 to 5 years, although weather exposure, material quality, and door traffic affect service life. Treat condition as the deciding factor: peeling, cracking, permanent flattening, visible gaps, or returning drafts warrant an earlier check.
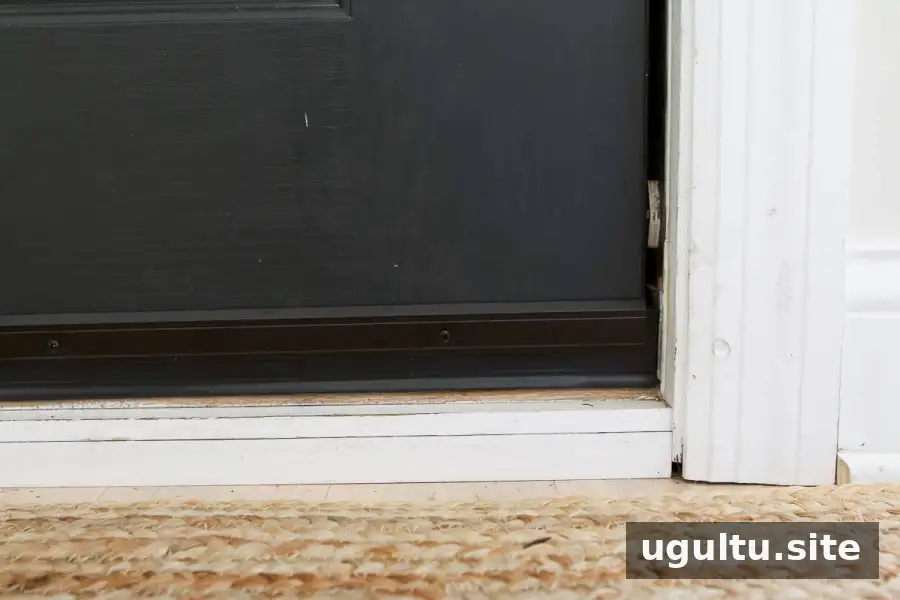
Inspect the seals at the beginning of each season, giving particular attention before winter. If a gap remains after replacement, check the installation and door alignment rather than adding material that makes closing difficult.
Keep Drafts Down With Exterior Door Weatherstripping
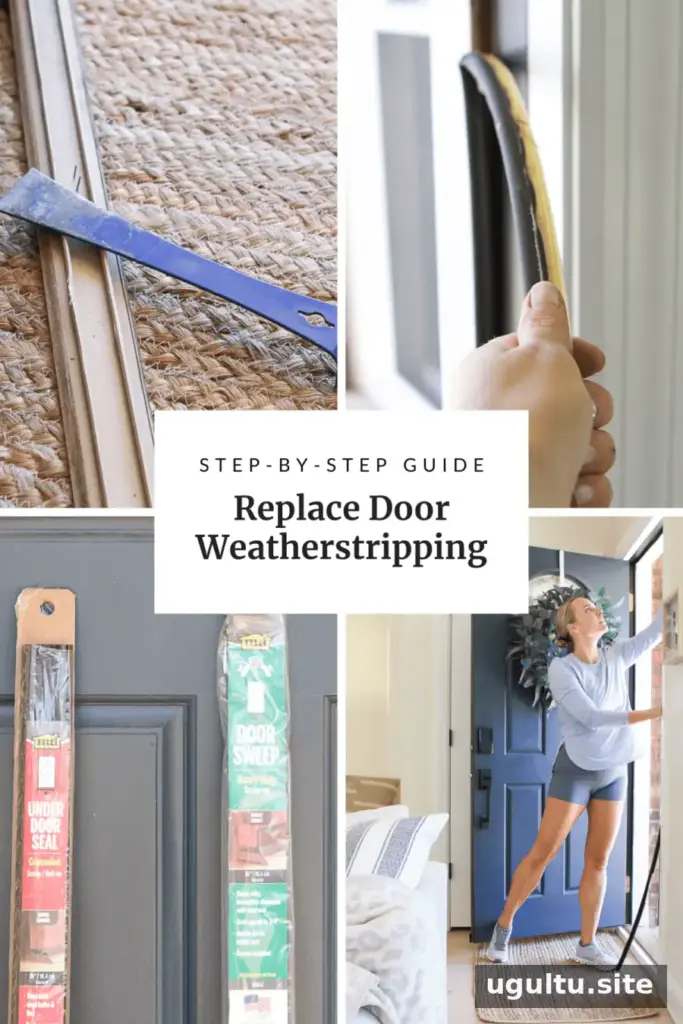
Effective exterior door weatherstripping combines accurate measurements, compatible materials, and careful adjustment. Check the fit after each installation step, keeping the sweep in light contact with the threshold and the frame seals evenly seated. Periodic inspections help catch wear before small gaps become noticeable cold drafts.