 admin
Knowing how to change a toilet seat is useful when a seat becomes damaged, feels uncomfortable, or is difficult to keep clean. With a compatible replacement and accessible mounting hardware, the job can take about five minutes. Measuring first and checking the fitting instructions will help you avoid common installation problems.
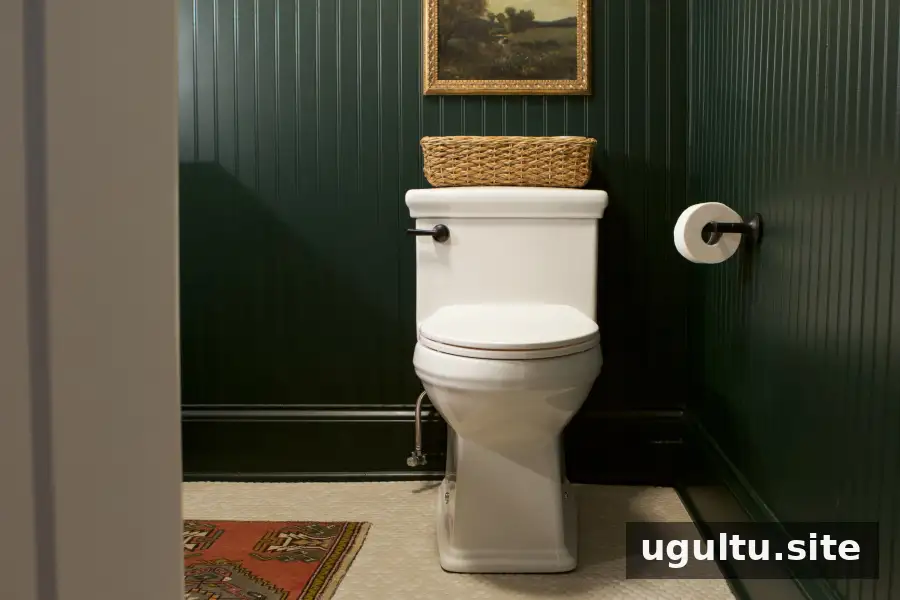
A replacement can also be worth considering when moving into a new home. Before removing anything, inspect the existing hinges and check whether the fasteners are reached from above or beneath the bowl. This helps you choose the right tools.

Measure the Bowl Before Buying a Replacement
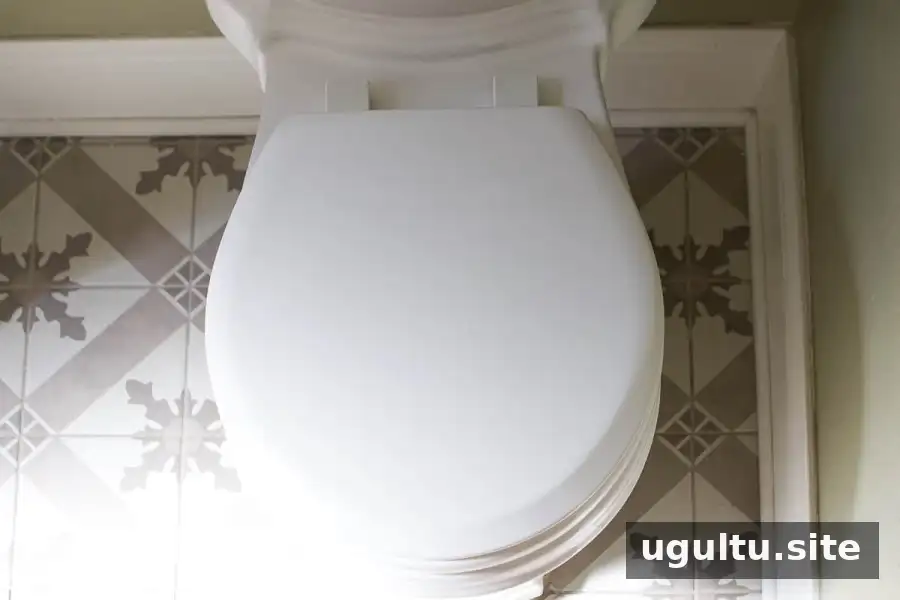
The two common bowl shapes are round and elongated. Although their outlines look different, measuring is more reliable than judging by appearance alone.
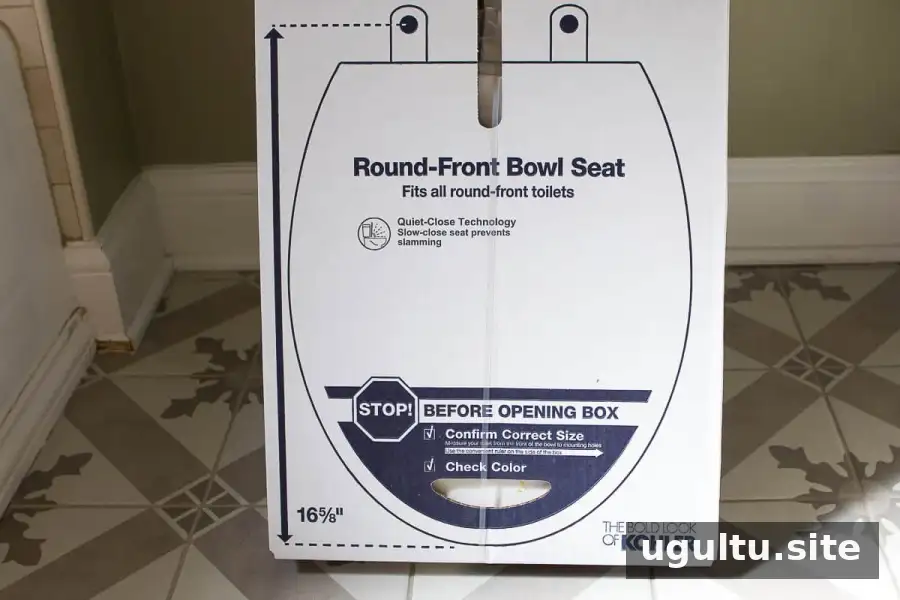
Measure from the center of the mounting bolts to the front edge of the bowl. Typical measurements are:
- Round bowl: about 16.5 inches.
- Elongated or oblong bowl: about 18.5 inches.
Check the replacement seat’s stated dimensions and mounting requirements as well. Bowl width and unusual shapes can affect compatibility, so length alone does not guarantee a suitable fit.
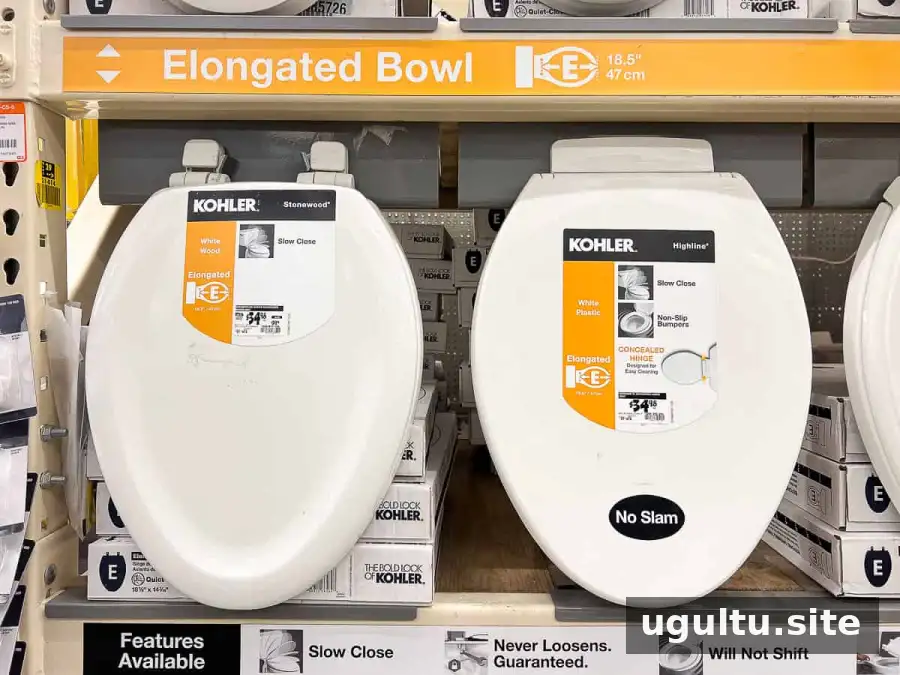
Once you have confirmed the size, compare practical features. Soft-close hinges help prevent the lid from slamming, while detachable seats give easier access for cleaning. Prioritize compatibility and easy maintenance over appearance alone.
How to Change a Toilet Seat Step by Step
- Difficulty: 1 out of 5.
- Estimated time: 5 minutes for a straightforward replacement; seized hardware may take longer.
- Supplies: A replacement toilet seat and appropriate cleaning supplies.
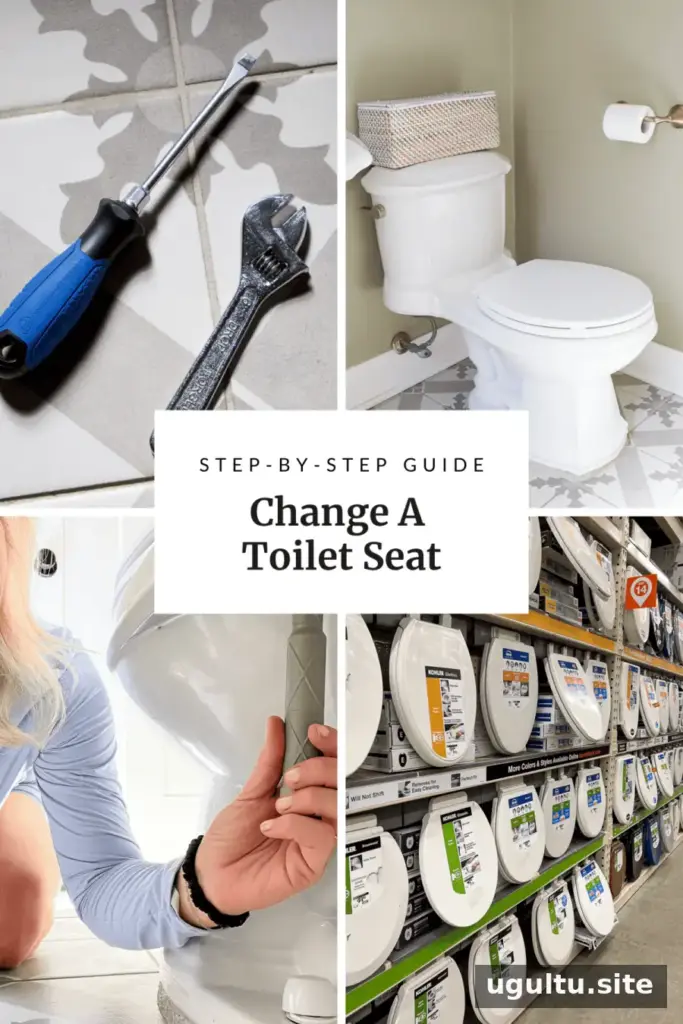
- Tools: A flathead screwdriver and adjustable wrench, with an optional toilet seat nut wrench.
Keep the new seat’s instructions within reach. Use the tools specified for its fittings rather than assuming every hinge uses the same fasteners.
1. Release the Old Seat
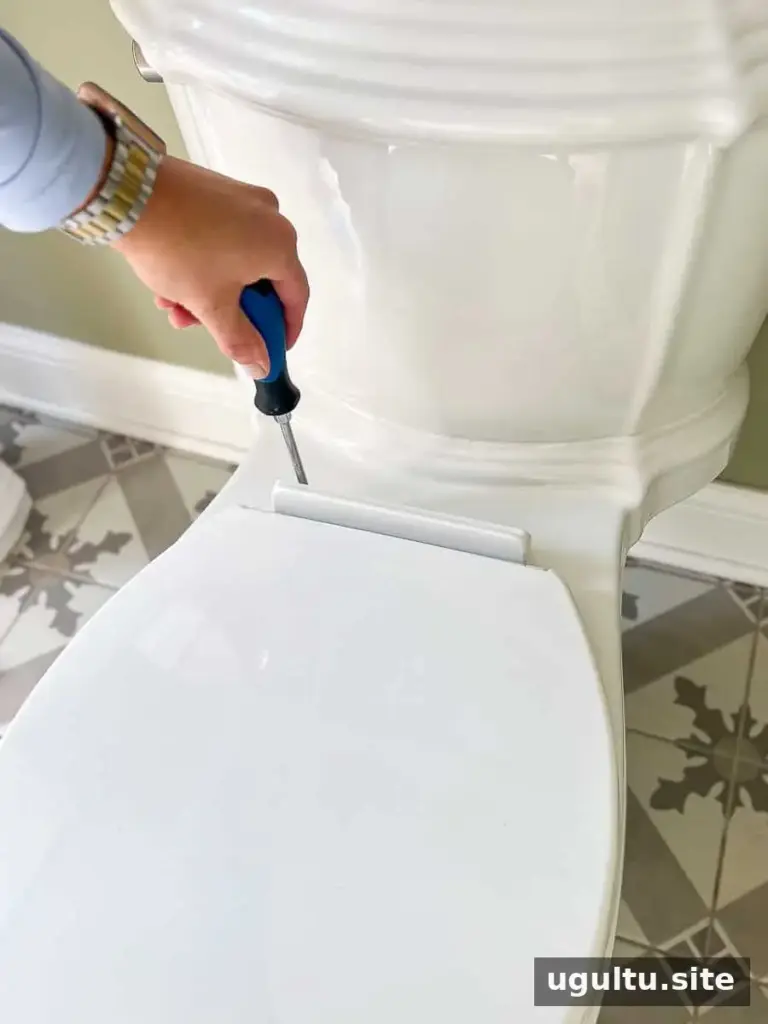
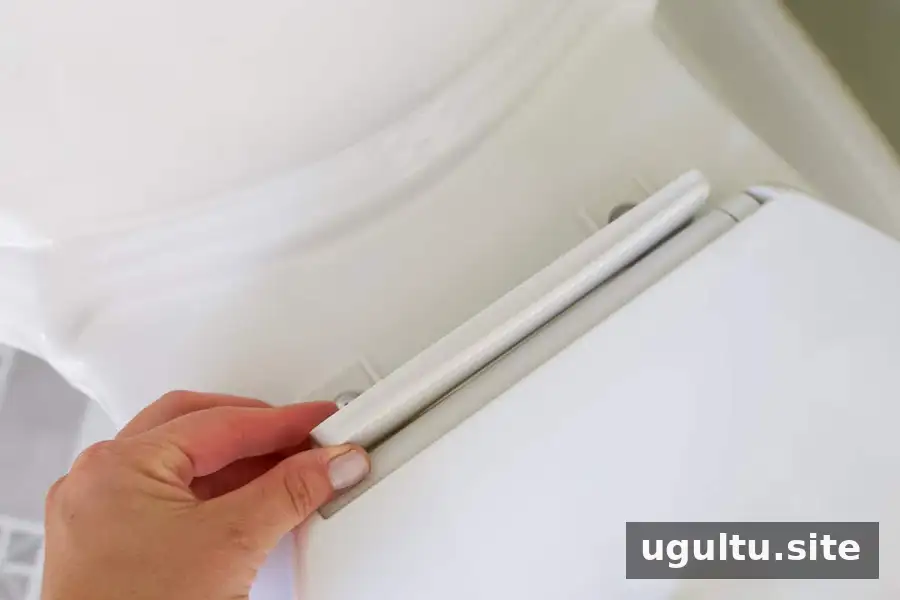
Find the two mounting points toward the rear of the bowl. Lift or remove any protective hinge caps to expose the hardware. Standard seats often have nuts beneath the bowl, while top-fixing designs are released from above.
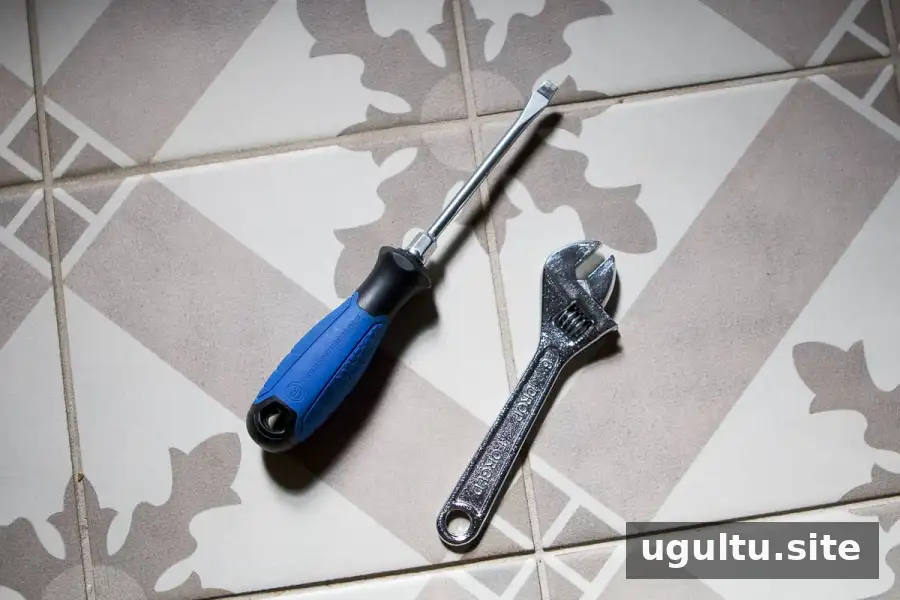
For a conventional bolt-and-nut fitting, hold the bolt steady with a screwdriver while loosening the nut underneath with an adjustable wrench. Work carefully in the narrow space and avoid forcing tools against the ceramic.
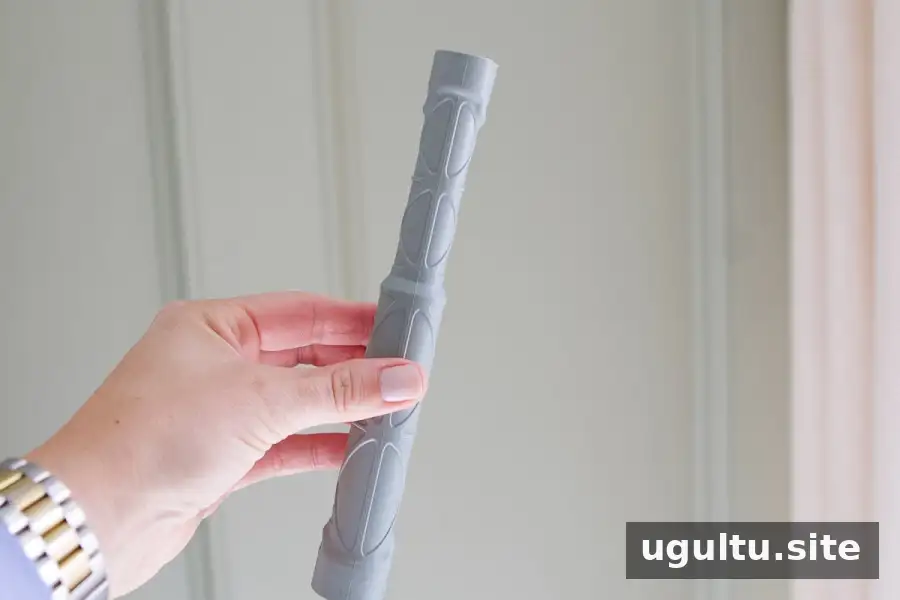
A toilet seat nut wrench may provide better access when a standard wrench is difficult to position. Keeping the tool properly seated also helps prevent it from slipping.
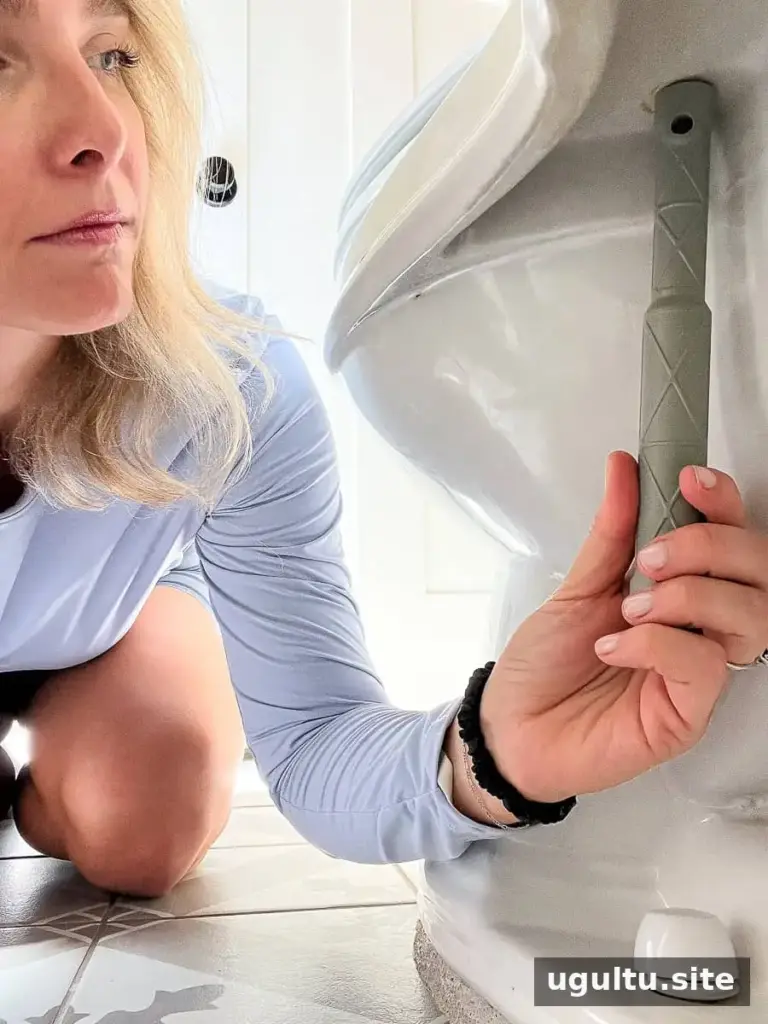
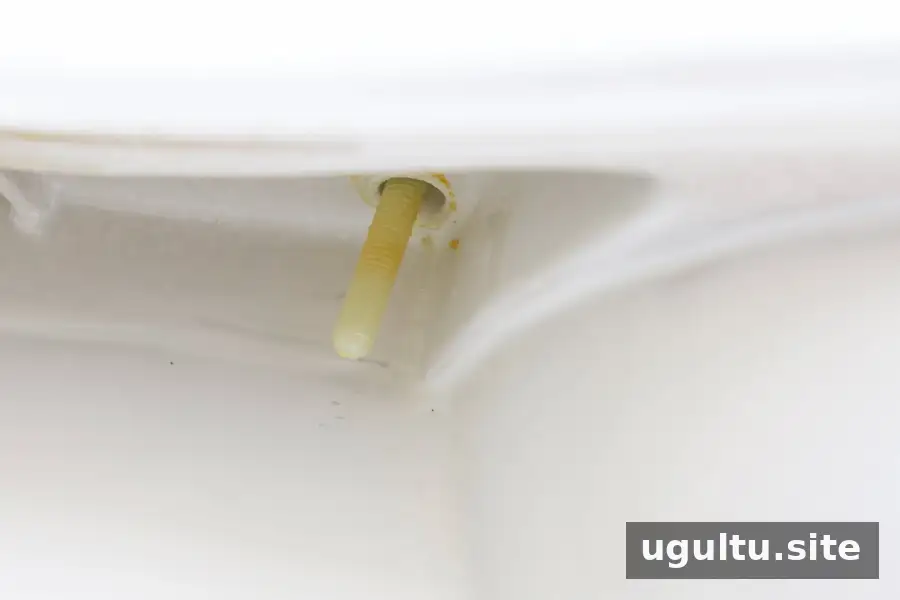
If metal hardware has seized, a small amount of suitable penetrating lubricant may help. Follow its label, allow time for it to work, and keep it off the seat and floor. After removing the fasteners, lift away the old seat.
2. Clean and Inspect the Mounting Surface
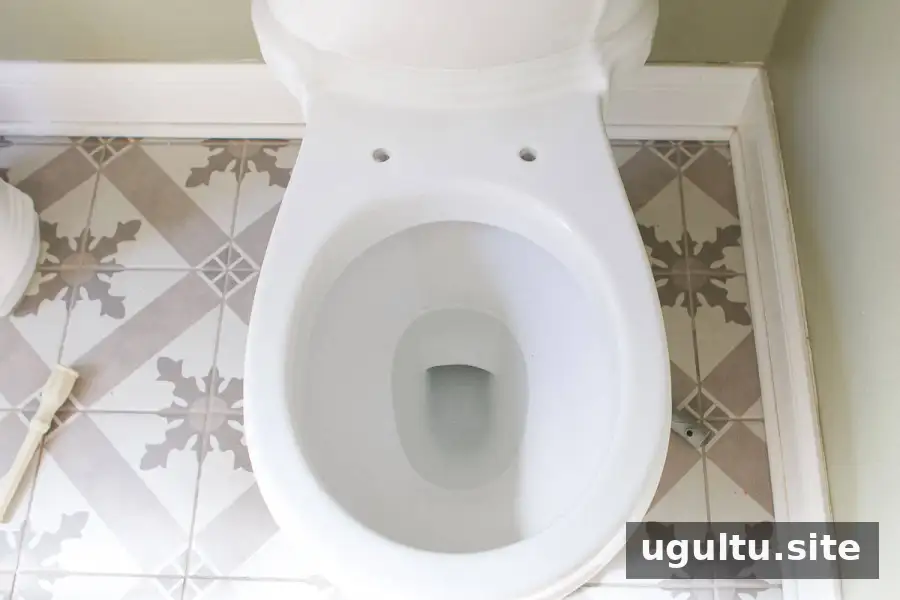
Clean the exposed rim, hinge contact areas, and spaces around the mounting holes with a suitable bathroom cleaner and a cloth or brush. Follow the cleaning product’s directions and never combine cleaning products.
Let the surface dry, then inspect the ceramic around the holes. If you notice cracks, pause the installation rather than tightening new hardware over damaged ceramic.
3. Position and Secure the Replacement
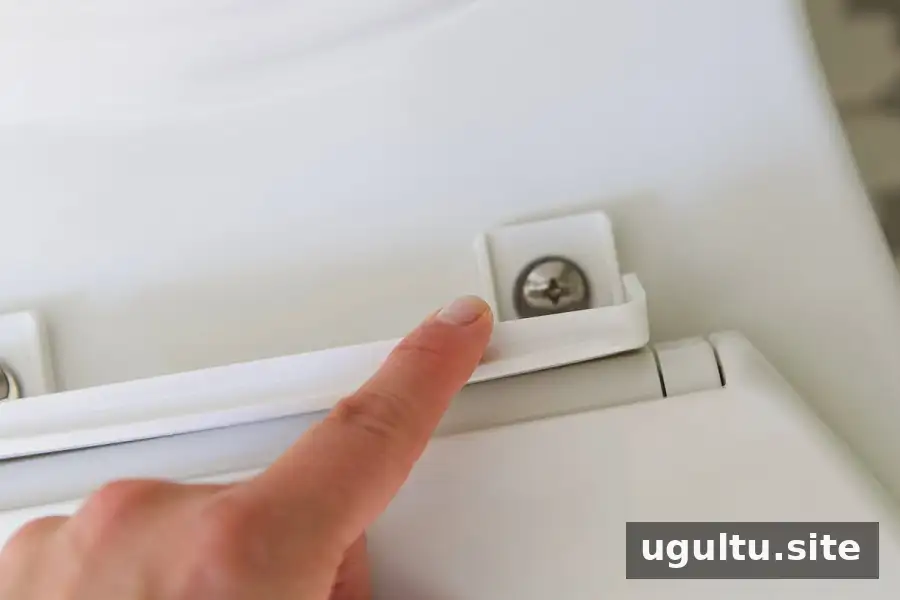
Arrange the hinges and fittings as shown in the supplied instructions. With a standard bolt-and-nut system, align the hinges with the mounting holes, insert the bolts, and loosely attach the nuts underneath.
Center the seat over the bowl before final tightening. Check the front and sides so the seat is not noticeably skewed.
Some designs have wing nuts that you hold underneath while turning the screws from above. Tighten the two sides evenly, following the manufacturer’s directions. Excessive force can damage the fittings or ceramic.
Lower the seat and gently check for sideways movement. Confirm that it rests evenly and that the lid opens and closes without obstruction.
Check Whether a Wobbly Seat Needs Replacing
A shifting seat does not always require a new one. Open any hinge covers, realign the seat, and carefully tighten the mounting hardware using the appropriate tool. Stop once the fittings are secure rather than continuing to apply force.
If the wobble returns, examine the hinges, nuts, and other mounting components for damage or wear. Compatible replacement hardware may solve the problem; damaged hinges or a damaged seat may justify replacing the complete assembly.
Complete the Job With a Final Fit Check
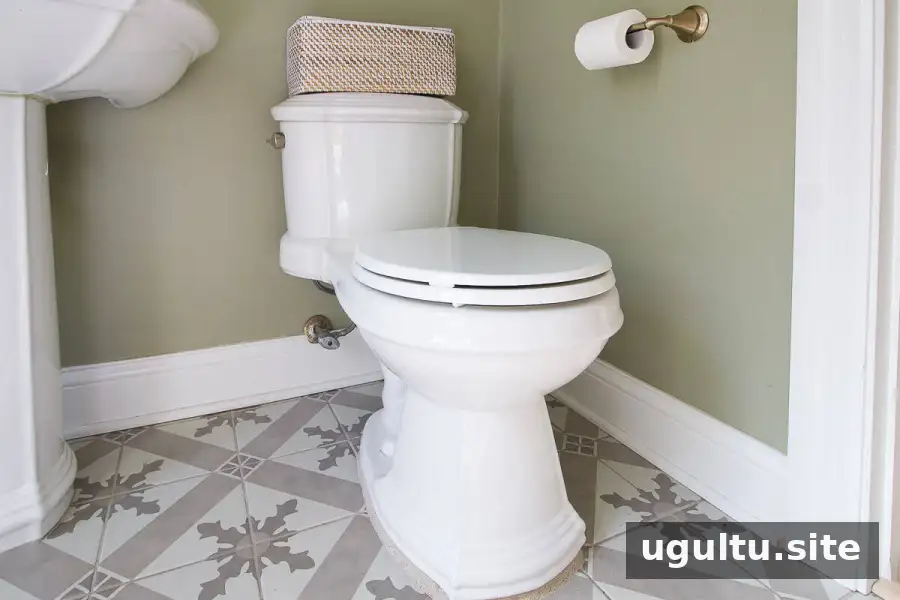
Learning how to change a toilet seat comes down to choosing the correct fit, removing the old hardware carefully, and securing the replacement without overtightening. Before finishing, check the alignment, hinge movement, and stability. Keep the installation instructions for future adjustments or removal when cleaning.